Christmas

from the crafting room

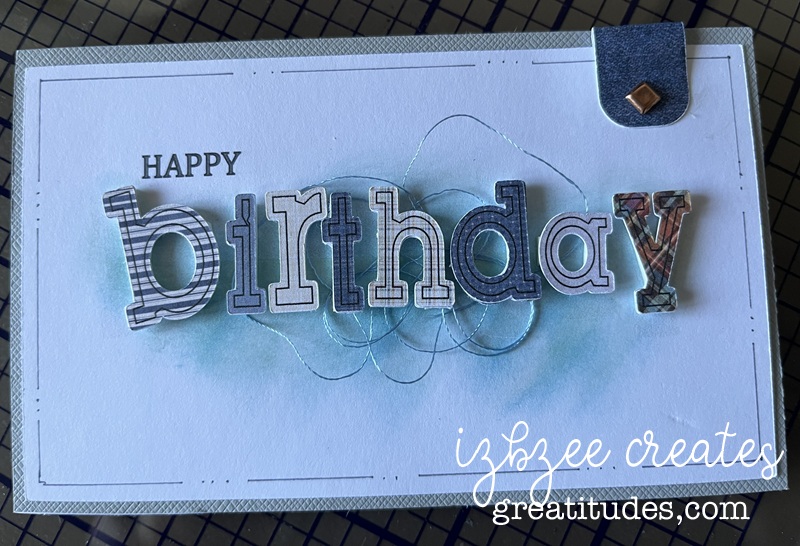
The last birthday card for the month of August. A little more tactile because the recipient is sight impaired. He liked it enough to keep it visible on his dresser.
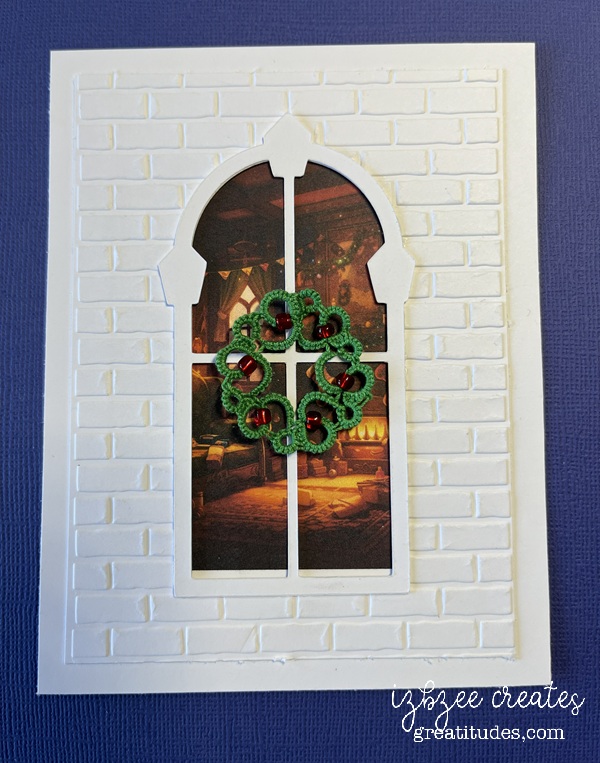
A sample of a possible Christmas card with a tatted wreath embellishment. Still working on it… but I like it for the most part. I do have 8 wreaths of the 20 or so that I will need. I see another day of tatting in my near future.
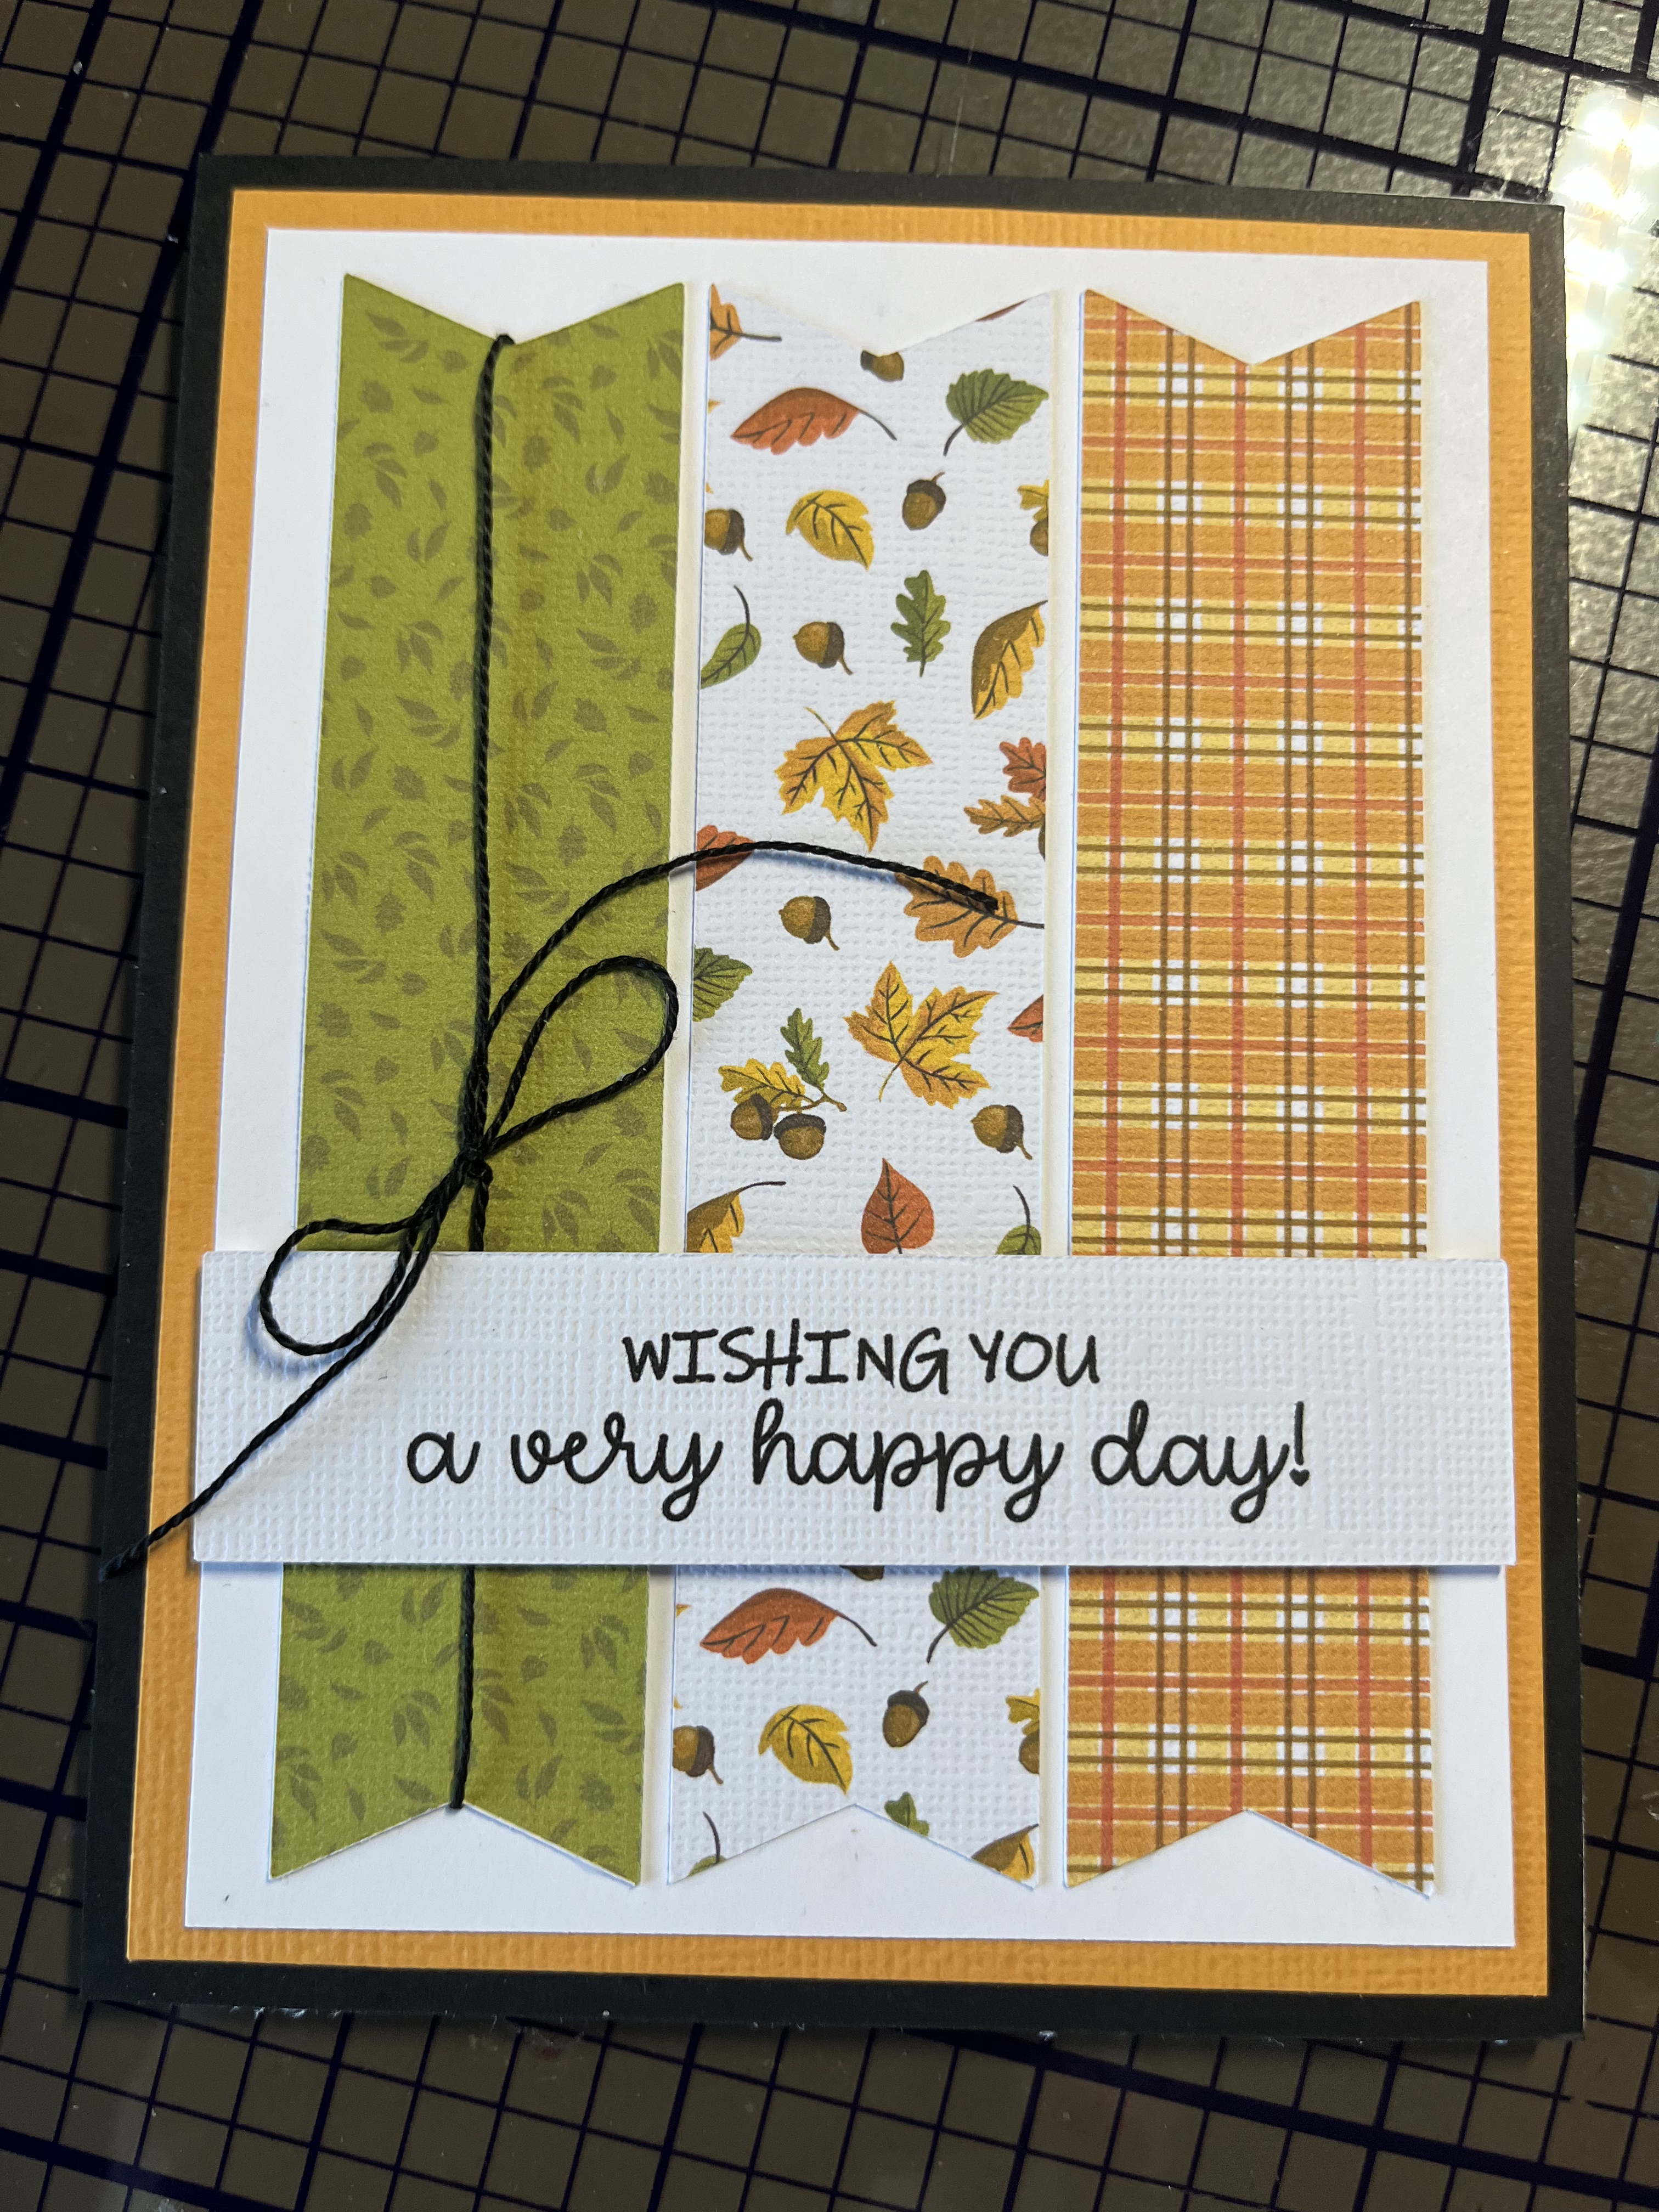
A Pinterest inspiration — I was able to use some digital papers I had in my collection. Lots of print 2 cut for this one, but definitely worth it. I made 20 of these and have mailed all but 3 of them.

Grateful for the “stash” of cards — they’ve definitely come in handy during the first half of this month. I’m sending a few more out in the next 10 days – and from the looks of the stash, I’m going to need to rebuild again! Just a few birthday, sympathy, and get well cards left.

I’ve seen a similar design available in the die – but thought I might try to make one of my own using circles and not ovals. It worked easily in SCAL 6 using the Duplicate command and adjusting the vertical and horizontal spacing. I really like it. A few cut strips woven through the spaces make for a fun card front.
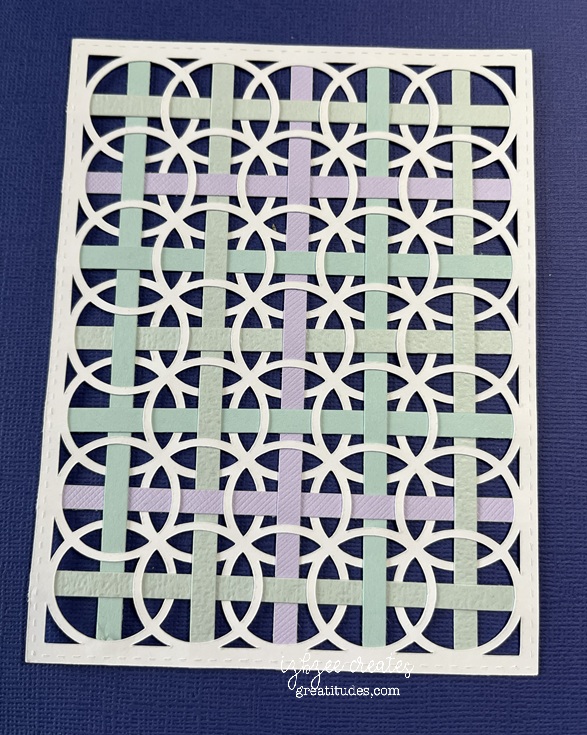
Testing the original cut. I like the results. And it’s a good way to use up some scraps as well.
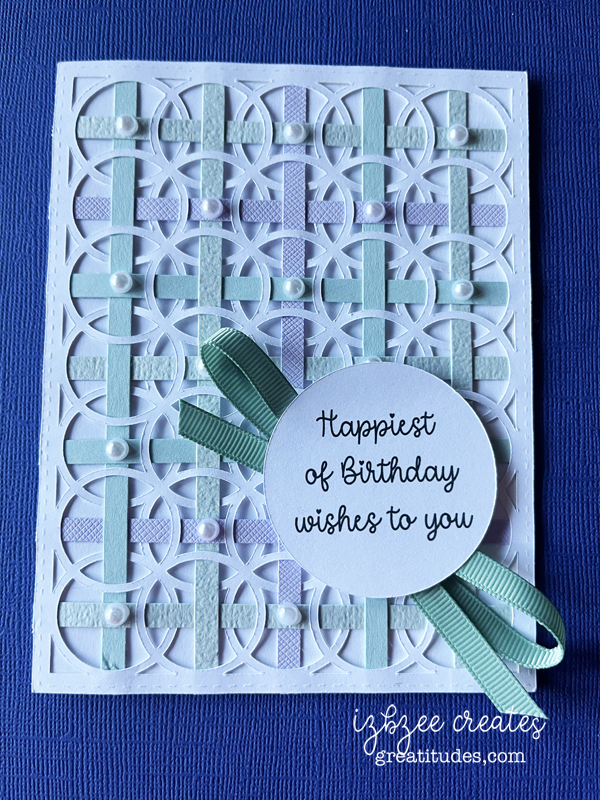
And with the embellishments. Half pearls from Queen and Company. Ribbon is from the stash (Stampin’ Up!)

I think that’s it for today. I do have a couple more projects underway — but not far enough along to share yet. Maybe by the end of the month! 🙂

Have a creative week! Enjoy your time in your space or thinking spot! Fall is arriving as the mountain’s colors are beginning to change – we can see some orange and golds today… The reds should start showing soon!
Annual Holiday Tags Reveal – pt 1

this year was a bit different than previous years’ reveals. I wasn’t able to finish all 12 tags due to illness… so instead of doing several different posts this year, I’m going to do just a couple. So let’s get started:

Lots paper piecing this year — most files were already on the computer, found for free online or inspired by something on Pinterest.

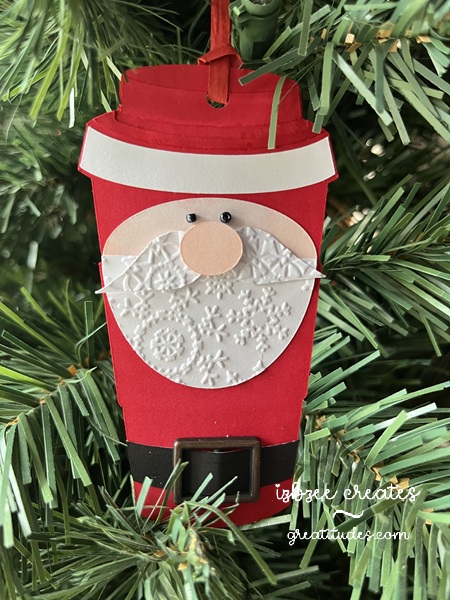
This first tag is a go cup – all the facial features were created using simple shapes in SCAL. Love being able to use up a ton of scraps as well this year. The embossing folder is from Crafter’s Companion – likely retired by this point in time.

I’ve always liked this bear stamp — I’ve used it for several different projects including birthday cards. For this tag, I added some digital paper from an old Echo Park collection and a bit of the paper yarn I made last fall. The sentiment is foil quilled and the SCAL software makes it to easy to complete a print to cut; foil to cut project!

A third tag is a fun piece — I’ve created something similar a couple of years ago, but I do like this version of the “peeker”. A little bit of ribbon, some Nuvo drops and a white paint/gel pen for details. Fun way to use your scraps again.

Using a file for a laser ornament — the file was from Creative Fabrica. Super easy to do and I just used 2 extra layers of paper to get the look I was after. All paper is from AC cardstock – with texture.

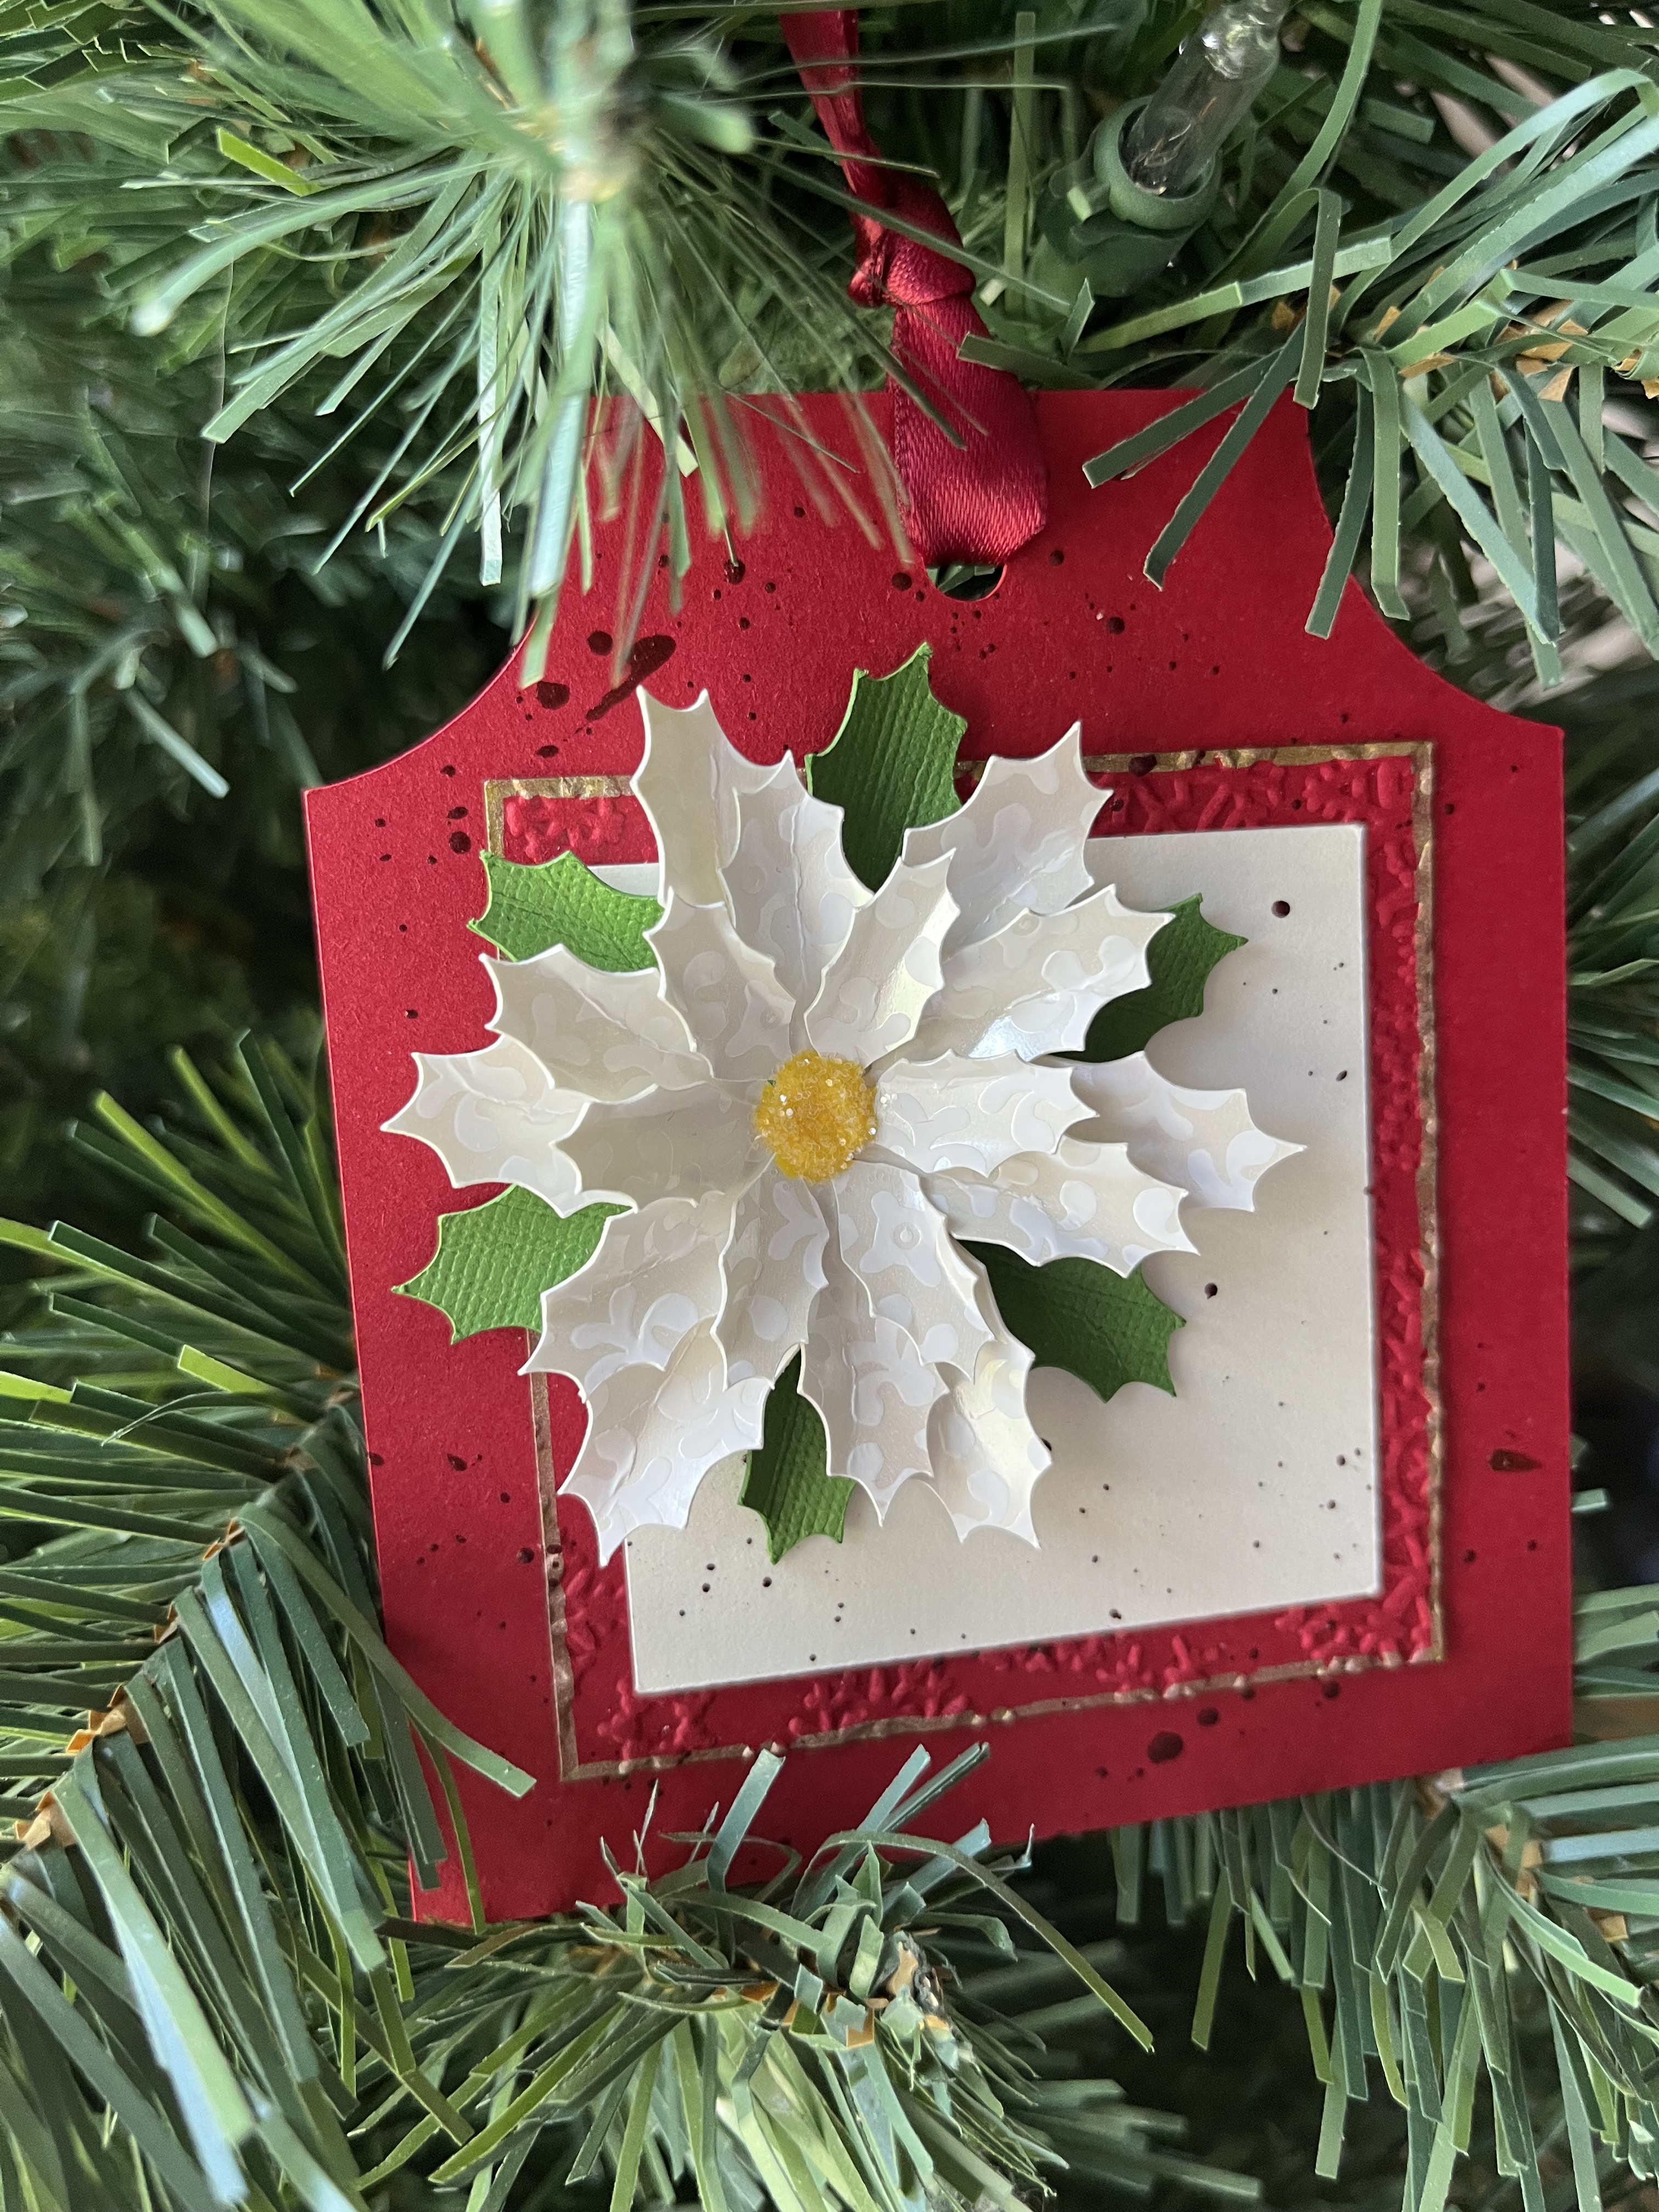
Poinsettia’s are a favorite of mine… they come in all sorts of colors and I thought that the white on white would be a perfect way to display this one. The file is from Maison Gregoria, reduced in size to about 2 inches across finished. Tag shape is made from simple shapes and a little bit of gold pen on the panel edge adds a little more texture to this tag.

We’ll stop there for now…. Just a few more to go and I’ll share those tomorrow.

that ornament file has a new life

With Christmas not too far away, let's just say, getting a head start is a good idea for this gal.  I should have started two months ago…. at least on my cards!  

IMG_1312

Pinterest inspired, this make was lots of fun and I even got to use some things from my stash and the scrap bin too!  
The file for the ornament is from Simply Crafty SVGs and the file I used for the H is from the 3D Letter SVG Kit at SVGCuts.com. (You get the whole alpha in the kit!) 

The 3d Round ornament gift box file was also used for some Halloween decor in my last post.  But I thought that changing it up to a bell would work too.  I did do a search for something similar in 3D, but struck out, so it was time to put things together to bring it to life.  

Bell

This is also where the paper yarn came into the crafting picture.  I needed something small to fit in the space between the halves of the ornament… but nothing seemed to work.  I tried wrapping paper around some cording, a pipe cleaner, and even designed a boxy trim – but nothing looked right.  While browsing the net one evening, I found a tutorial for making paper yarn.  The form I liked the best was using crepe paper and you can get about 9 yards of "yarn" from 1 yard of crepe paper when it's all spun.  I did need to get a drop spindle — but that was okay as I plan to use it for some other projects as well.  

Here's what my "yarn" looks like after it is spun.


Yarn

BELLS:  Once the ornament has been assembled following the video (here), glue the two halves together.  Get those edges close together.  When dry, you can apply the paper yarn.  I used Bearly Art craft glue to adhere the yarn in the area between the two halves.  

Decorate as desired. I used some die cuts (dies from Sizzix) and some wired ribbon I found at Hobby Lobby — yep, they're already setting their Christmas section!  

LetterH

Letter H:  Assemble the H according to the directions.  It really is an easy letter to put together.  Ink the edges of the H panel.  Decorate with a strip of black across the center of the H and add a second piece of black that has been threaded through the belt buckle.  I purchased a tin of buckles and frames from Oriental Trading quite a while ago and still had some that worked well for this project.  Adhere this panel to the front of the H and you're ready to display!  

As you can see, I made 3 of each – 3 bells and 3 H's.  You can display them in a several ways – and they'll be perfect for your holiday display this year and in years to come.  

IMG_1312

Happy Crafting!  Enjoy some creative time today and every day!