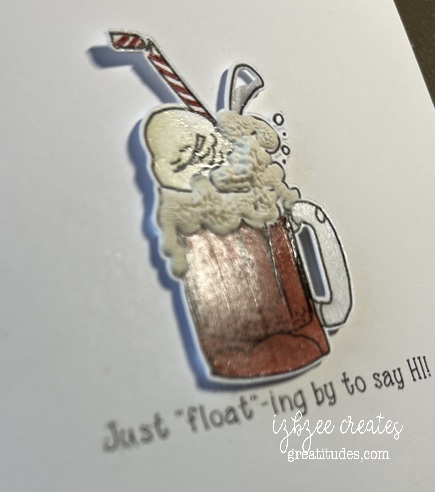
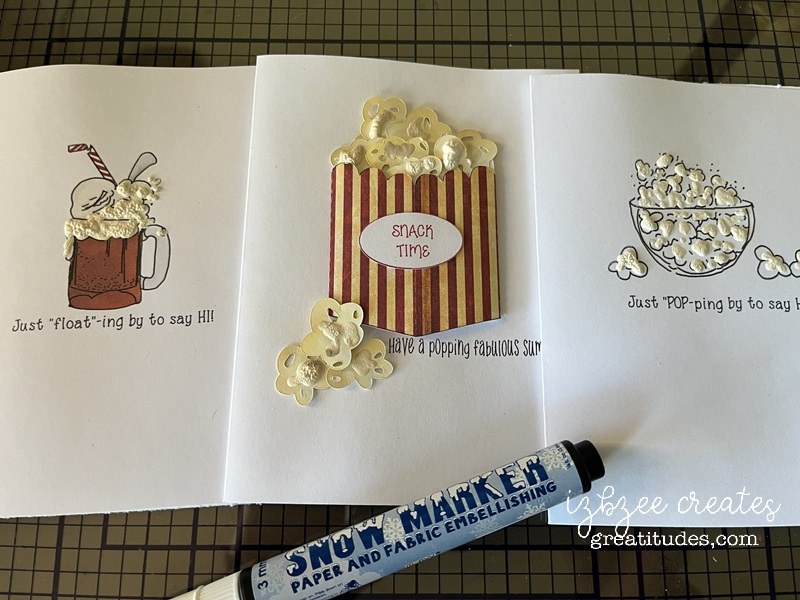
Rootbeer floats for a July hello card. These were lots of fun and using some heat and puff stuff really helped with the details on the float. Mod-Podge applied to the glass, straw and spoon.
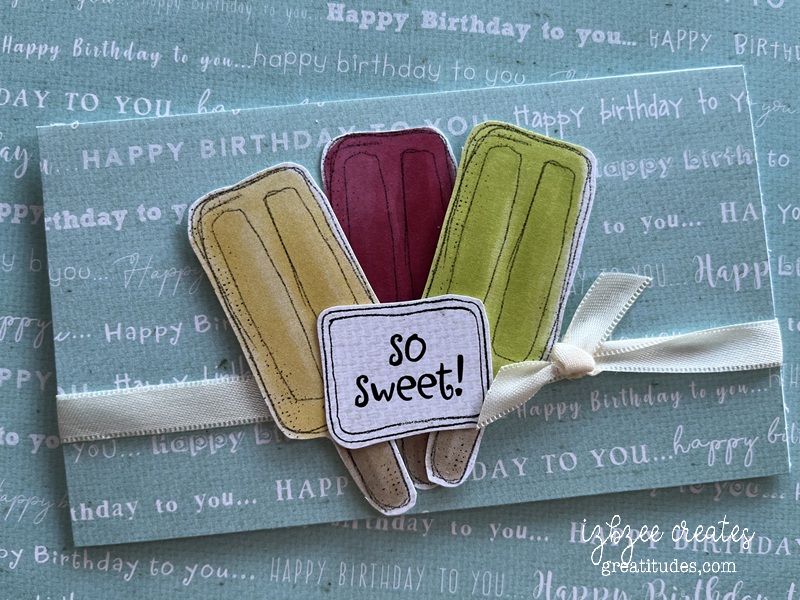
A quick birthday card – images and paper from Lasting Impressions.
a little more fun!
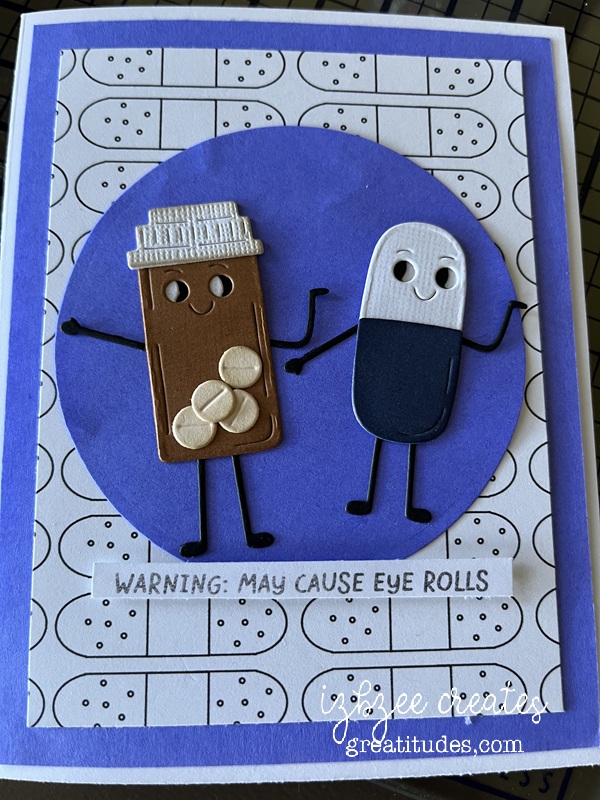
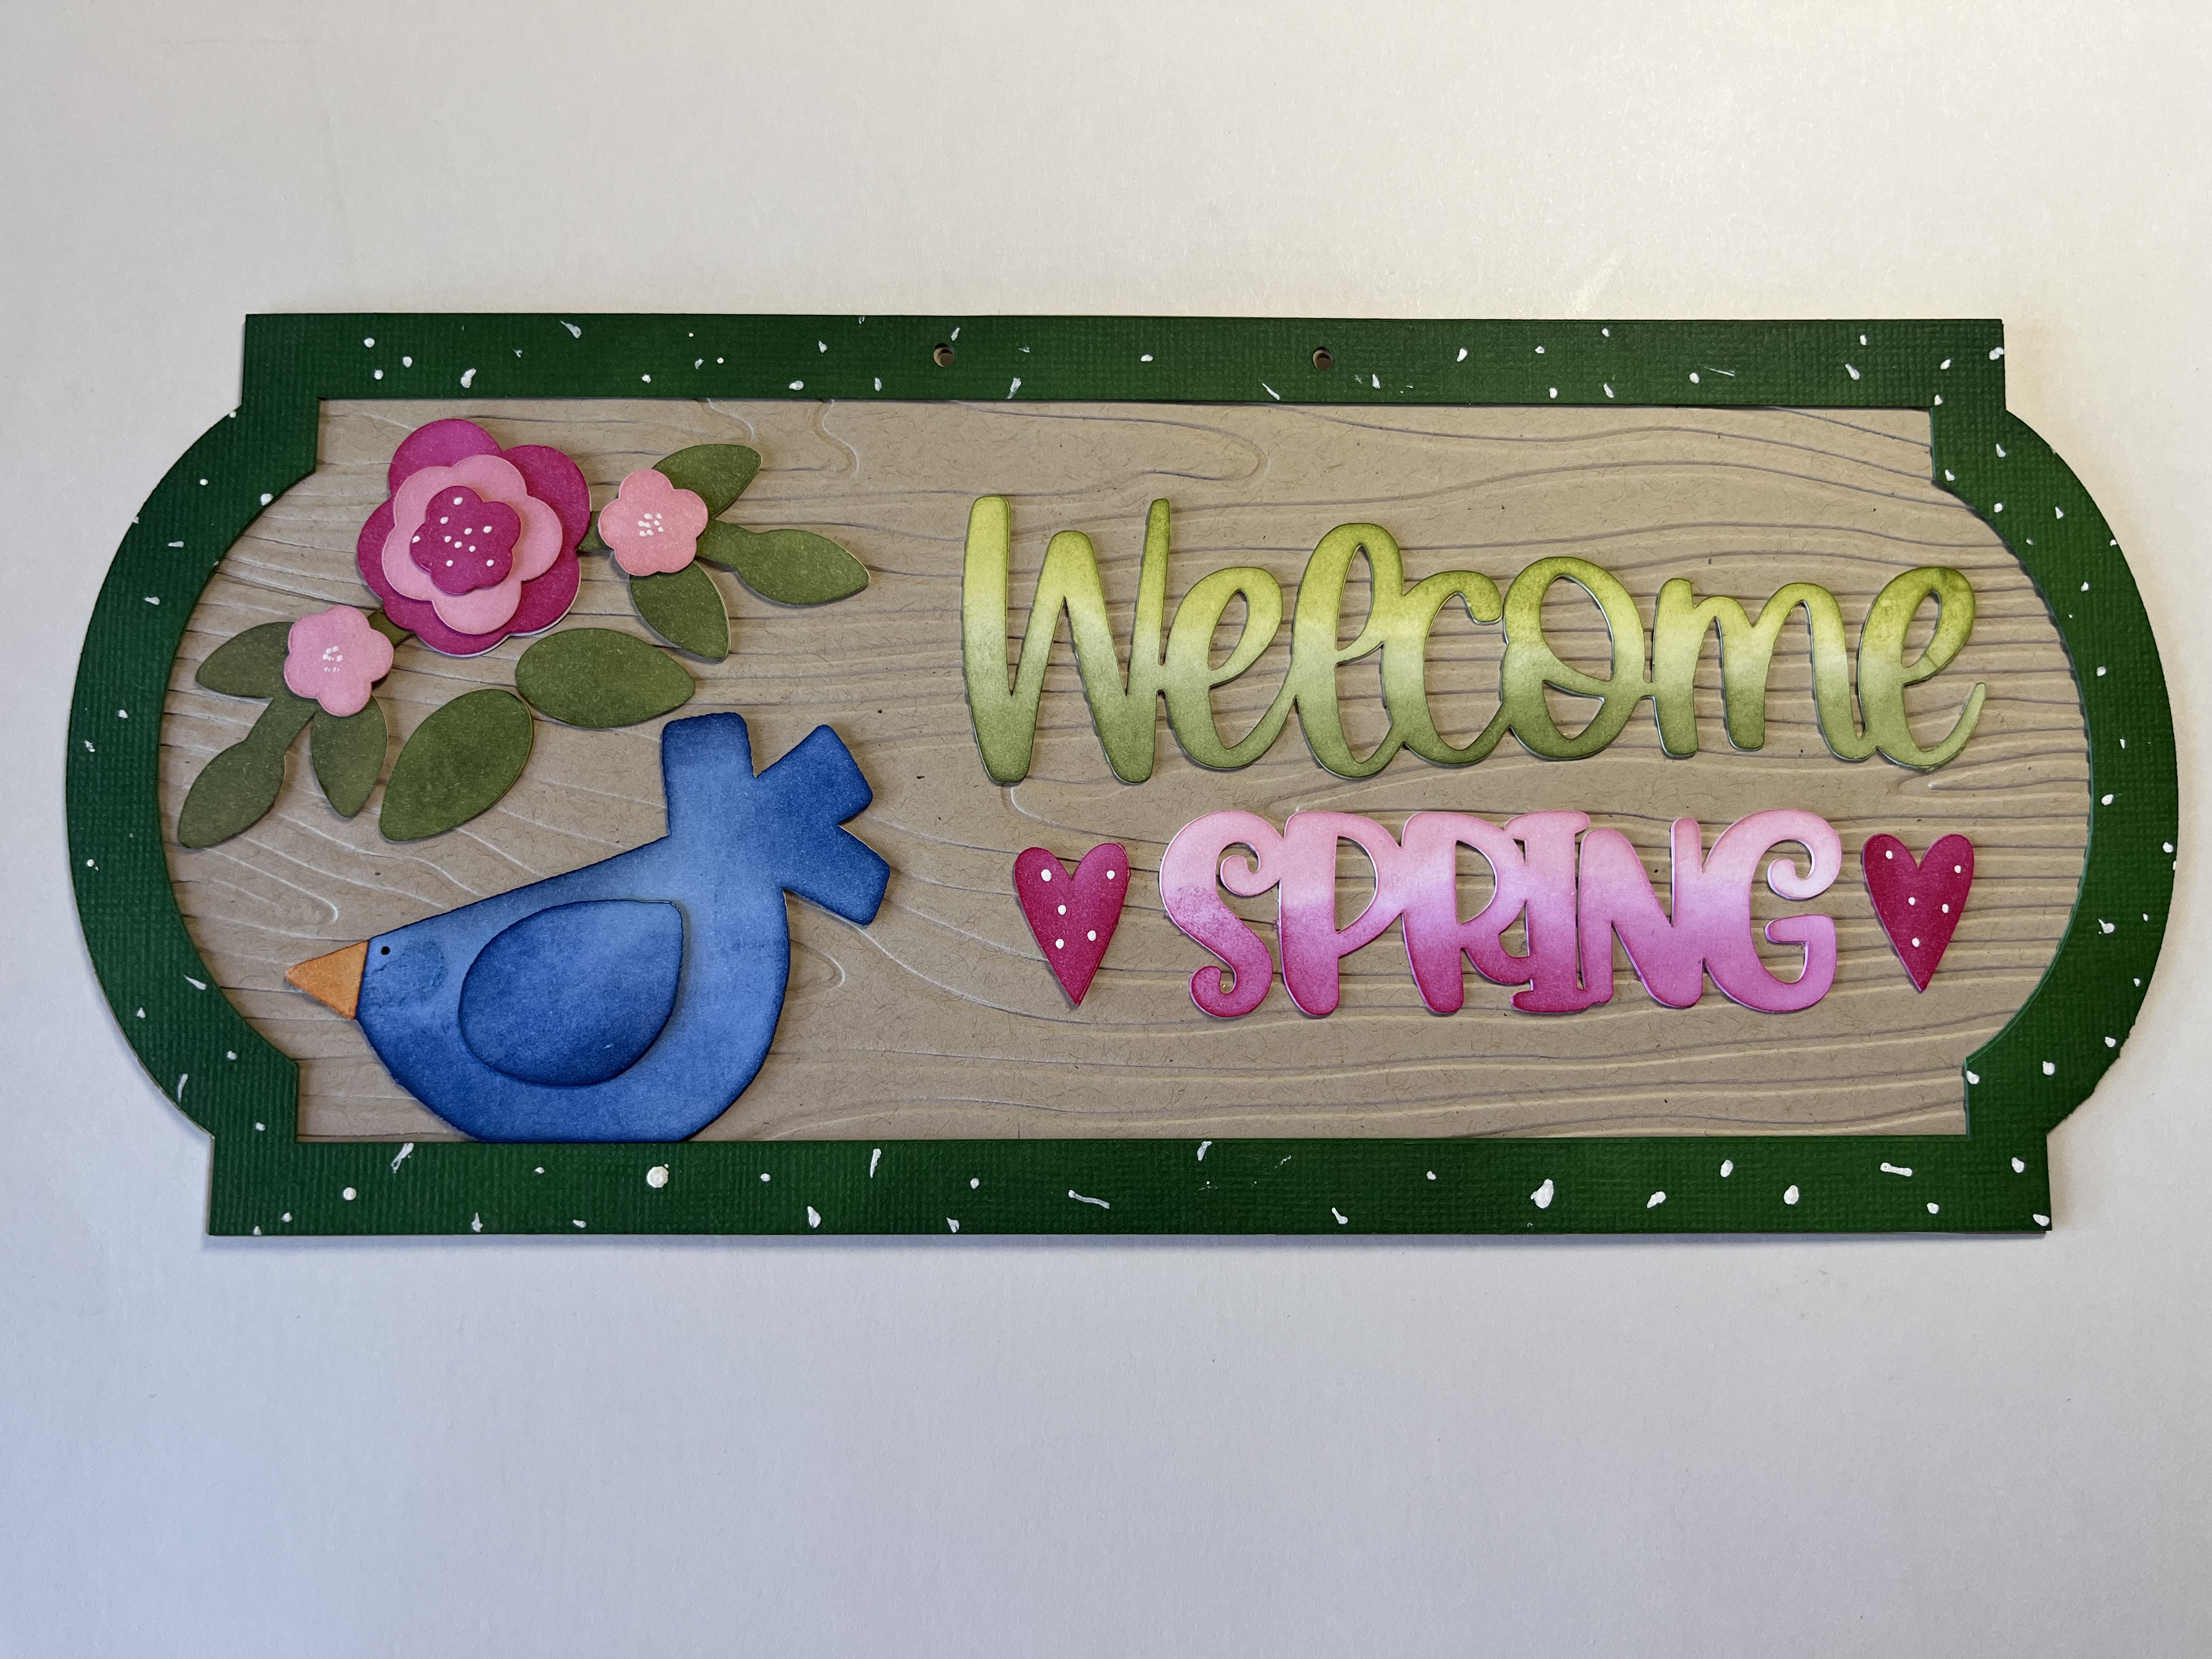
Background paper, my own design. Dies from Spellbinders.
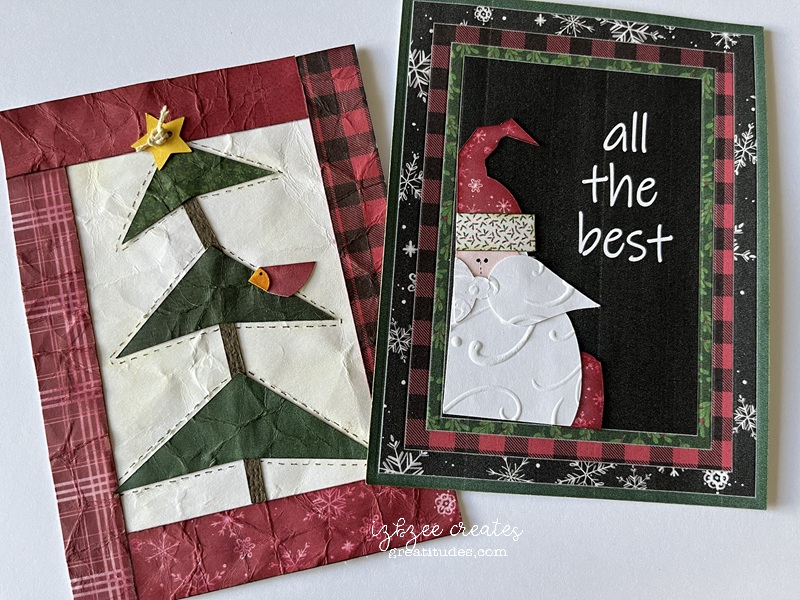
fun card size paper quilts. Digital papers from Nit Wit collections and Carta Bella. And old swirl texture plate from Sizzix for the embossing.
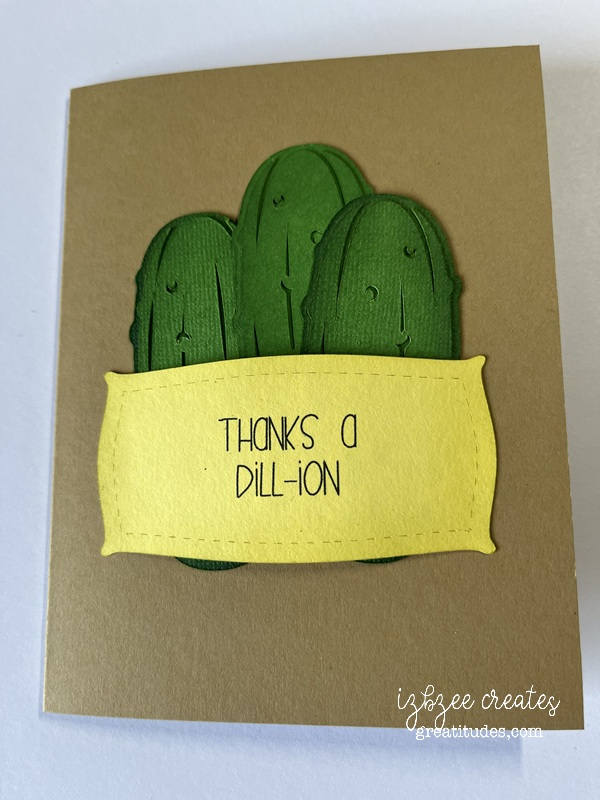
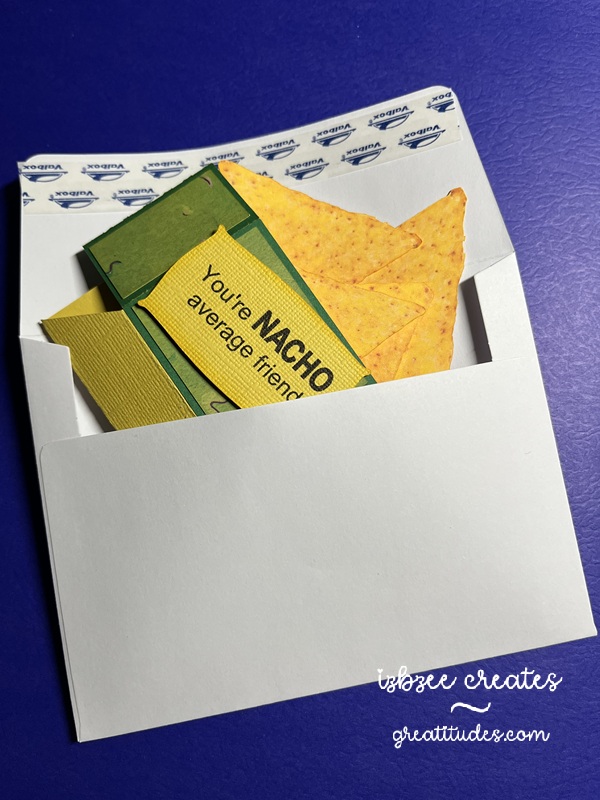
A thank you card — pickles for pickles! Pickle SVG download from Witchvector. Lots of inking!
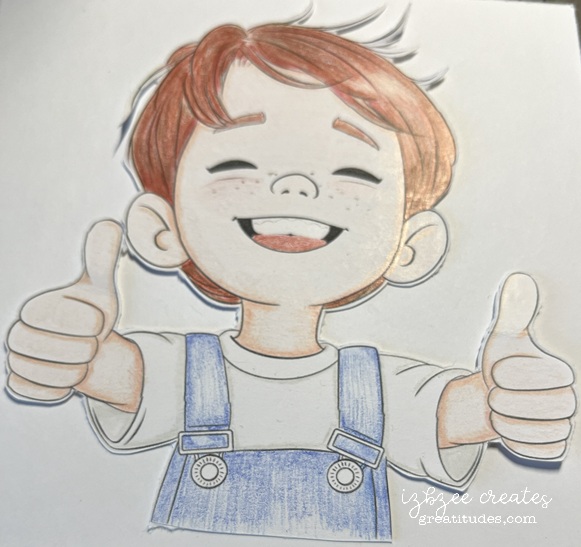
one of four images from Sweet November Stamps colored with Rembrandt pencils on smooth 110 lb Neenah stock.
I think I’ll stop for now. I have a few more things to share — but they can wait until next my next post.
Have a creative week!