Bearly Art

3 Tags of Summer – Tag #3

Another Pinterest inspiration. I found an icon for the bubble topped cup online. With all the hotter than hot weather we’ve been having and we’re back in the triple digits again, I thought this would be a fun way to end the challenge this year.

I used acetate for front and back, so the “cup” is clear and can be seen from both sides. The seed beads are from Michaels and at the time of this writing were 40% off (all jewelry stuff). I’m thinking I should have used more beads and made the bubble top a separate section, but due to some time constraints, kept it simple for this version.

I used a couple of buttons from the stash and some banner shapes for additional interest.

AC white textured cardstock
red marker; blue ink
Bearly Art Glue
buttons
seed beads (red matte)

Have an awesome day!

3 Summer Tags – Tag #2

Pinterest inspiration as well. I did change it up a bit and used several different techniques and media. The tag is from the SCAL library (Tags and Banners folder)

The base, flowers and sentiment piece are sketch pad paper. Leaves, flower centers and ladybug are cut using Encore and Bazzill cardstock

I used some pan pastels and watercolor ink refill for the tag base after stamping with a honeycomb background stamp. The flowers also have pan pastel and some ink splatter.

The sentiment was generated in SCAL and then foiled using the Foil Quill. I added some cheesecloth on top of the tag (you can’t see it) for a base to build on.

I really like how this one turned out. Texture, color and depth.

Sketch pad paper (9×12 sheet)
SCAL
Anenome files from Dreaming Tree
Ladybug file from Creative Fabrica (I did alter the file – adding a stitched line and changed the hearts into circles.
Leaves from a FSJ’s die set, I did use some tweezers to add some dimension and then inked the leaves.

Paper Play – July and August

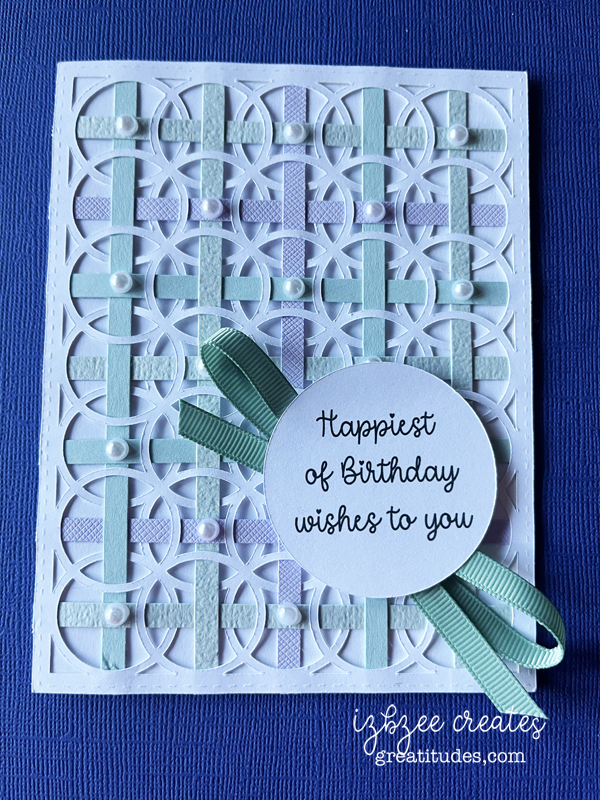
July and August were pretty busy – lots of cards to create and get in the mail and or hand-deliver. Even a challenge project and some tatting – for which I’m very grateful I haven’t forgotten how to do. So let’s just get started with a few of the many I’ve done over the course of the last month or so.


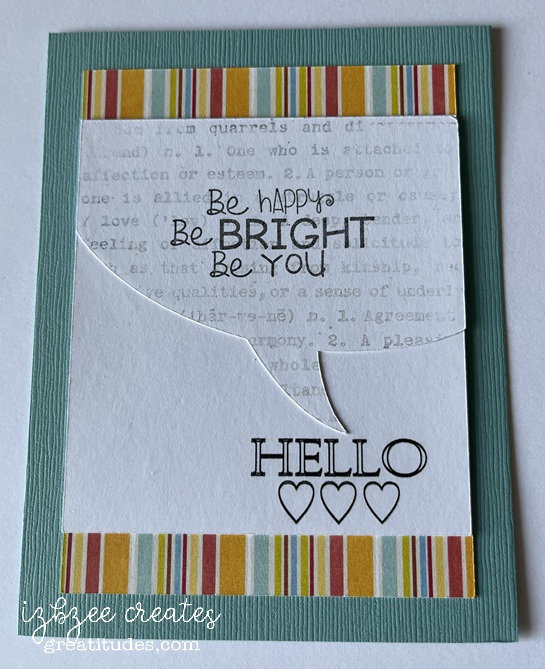
Print to cut – using SCAL 6 pro. I did use an old SU background stamp on the speech bubble. Cardstock from AC and Bazill. Delivered

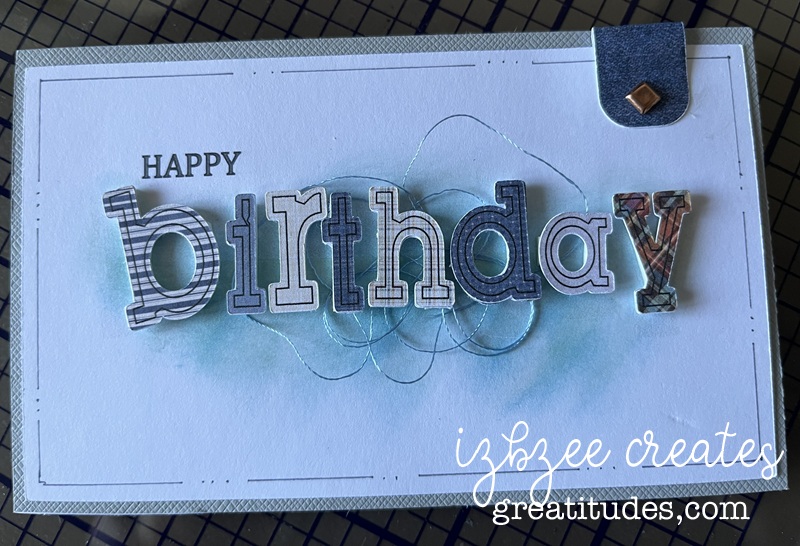
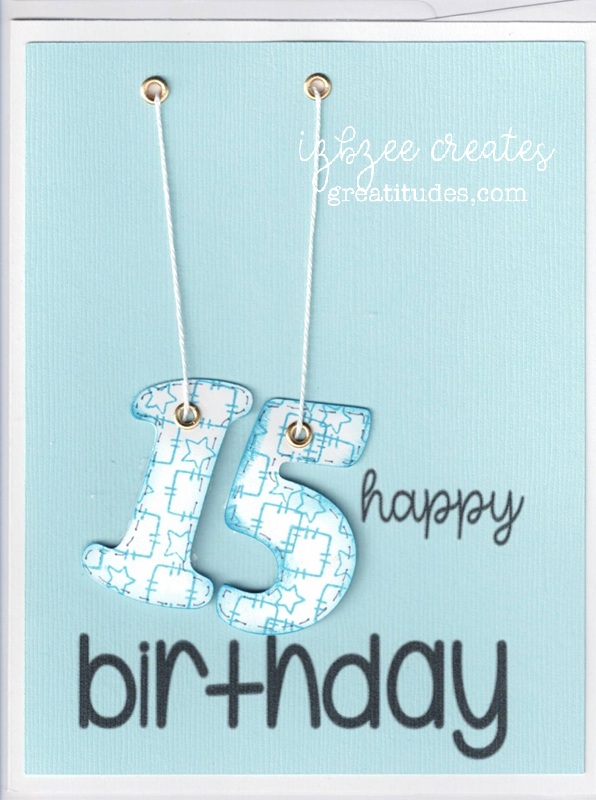
Pinterest inspired — the happy birthday is printed on the colored cardstock, cut to size before printing. The 15 is stamped and inked along the edges for a little more interest and texture. Eyelets are from my stash and I used some crochet cotton as the strings. Delivered

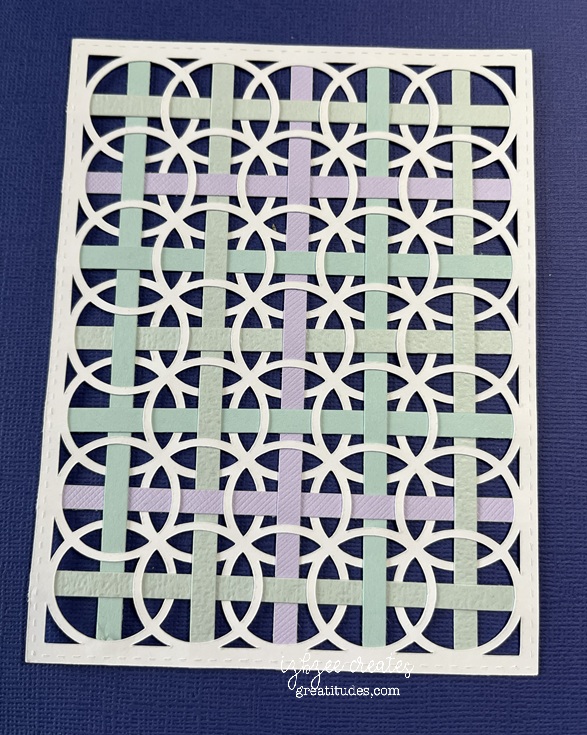
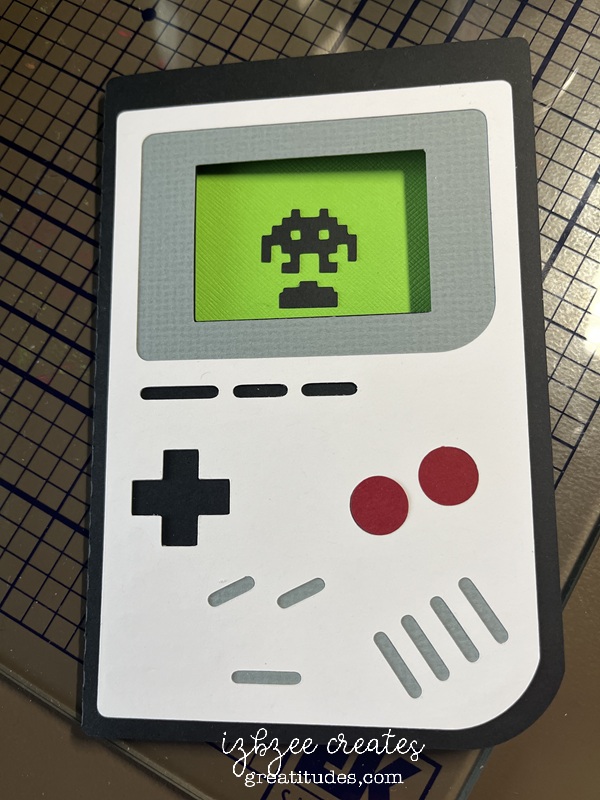
File from Etsy – easy to create and while it’s an offsize, it wouldn’t be hard to resize to fit in an A2 envie. I did use some vinyl on the inside for the sentiment. This card has been delivered and he had to show it off to his brother before sharing it with his parents.

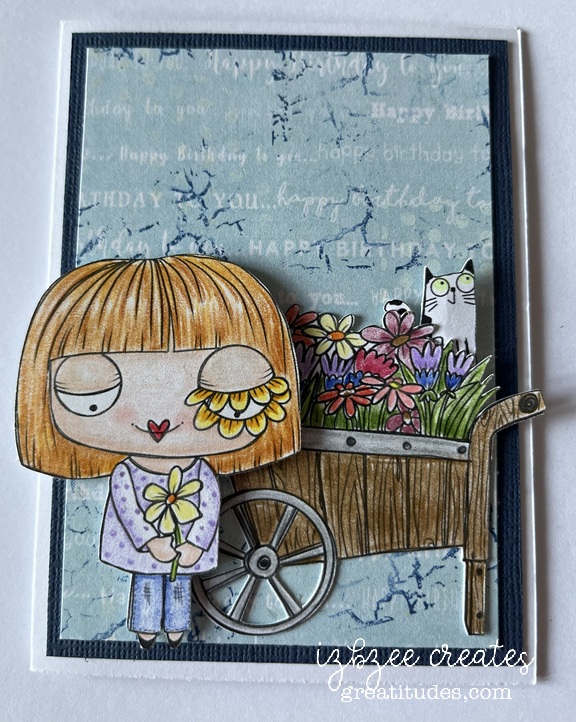
Vera Lane digi stamps. I love her quirky style and they’re just fun to color and play with. Background paper from Lasting Impressions. I hope it’s well received.

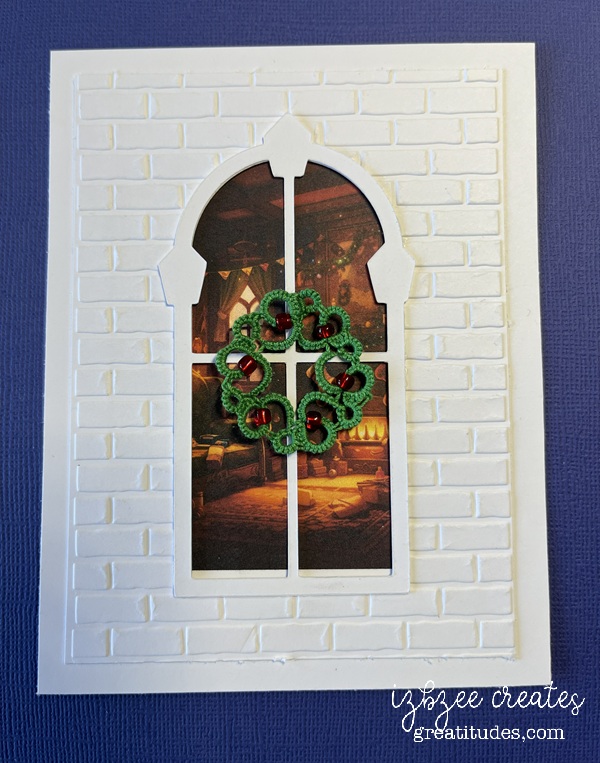
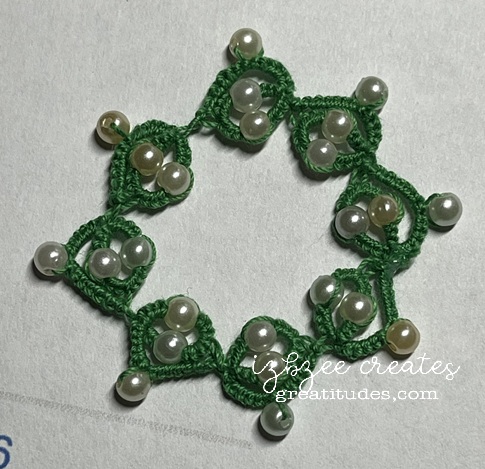
I found the pattern at LillianTatLace.com It’s a free pattern — you may need to do a search but you’re looking for the Wreath from 2013. It’s an easy piece, but I think I’m going to try to find a different size bead/pearl for the next practice. Maybe we can go do a looksie at the craft store later this week.

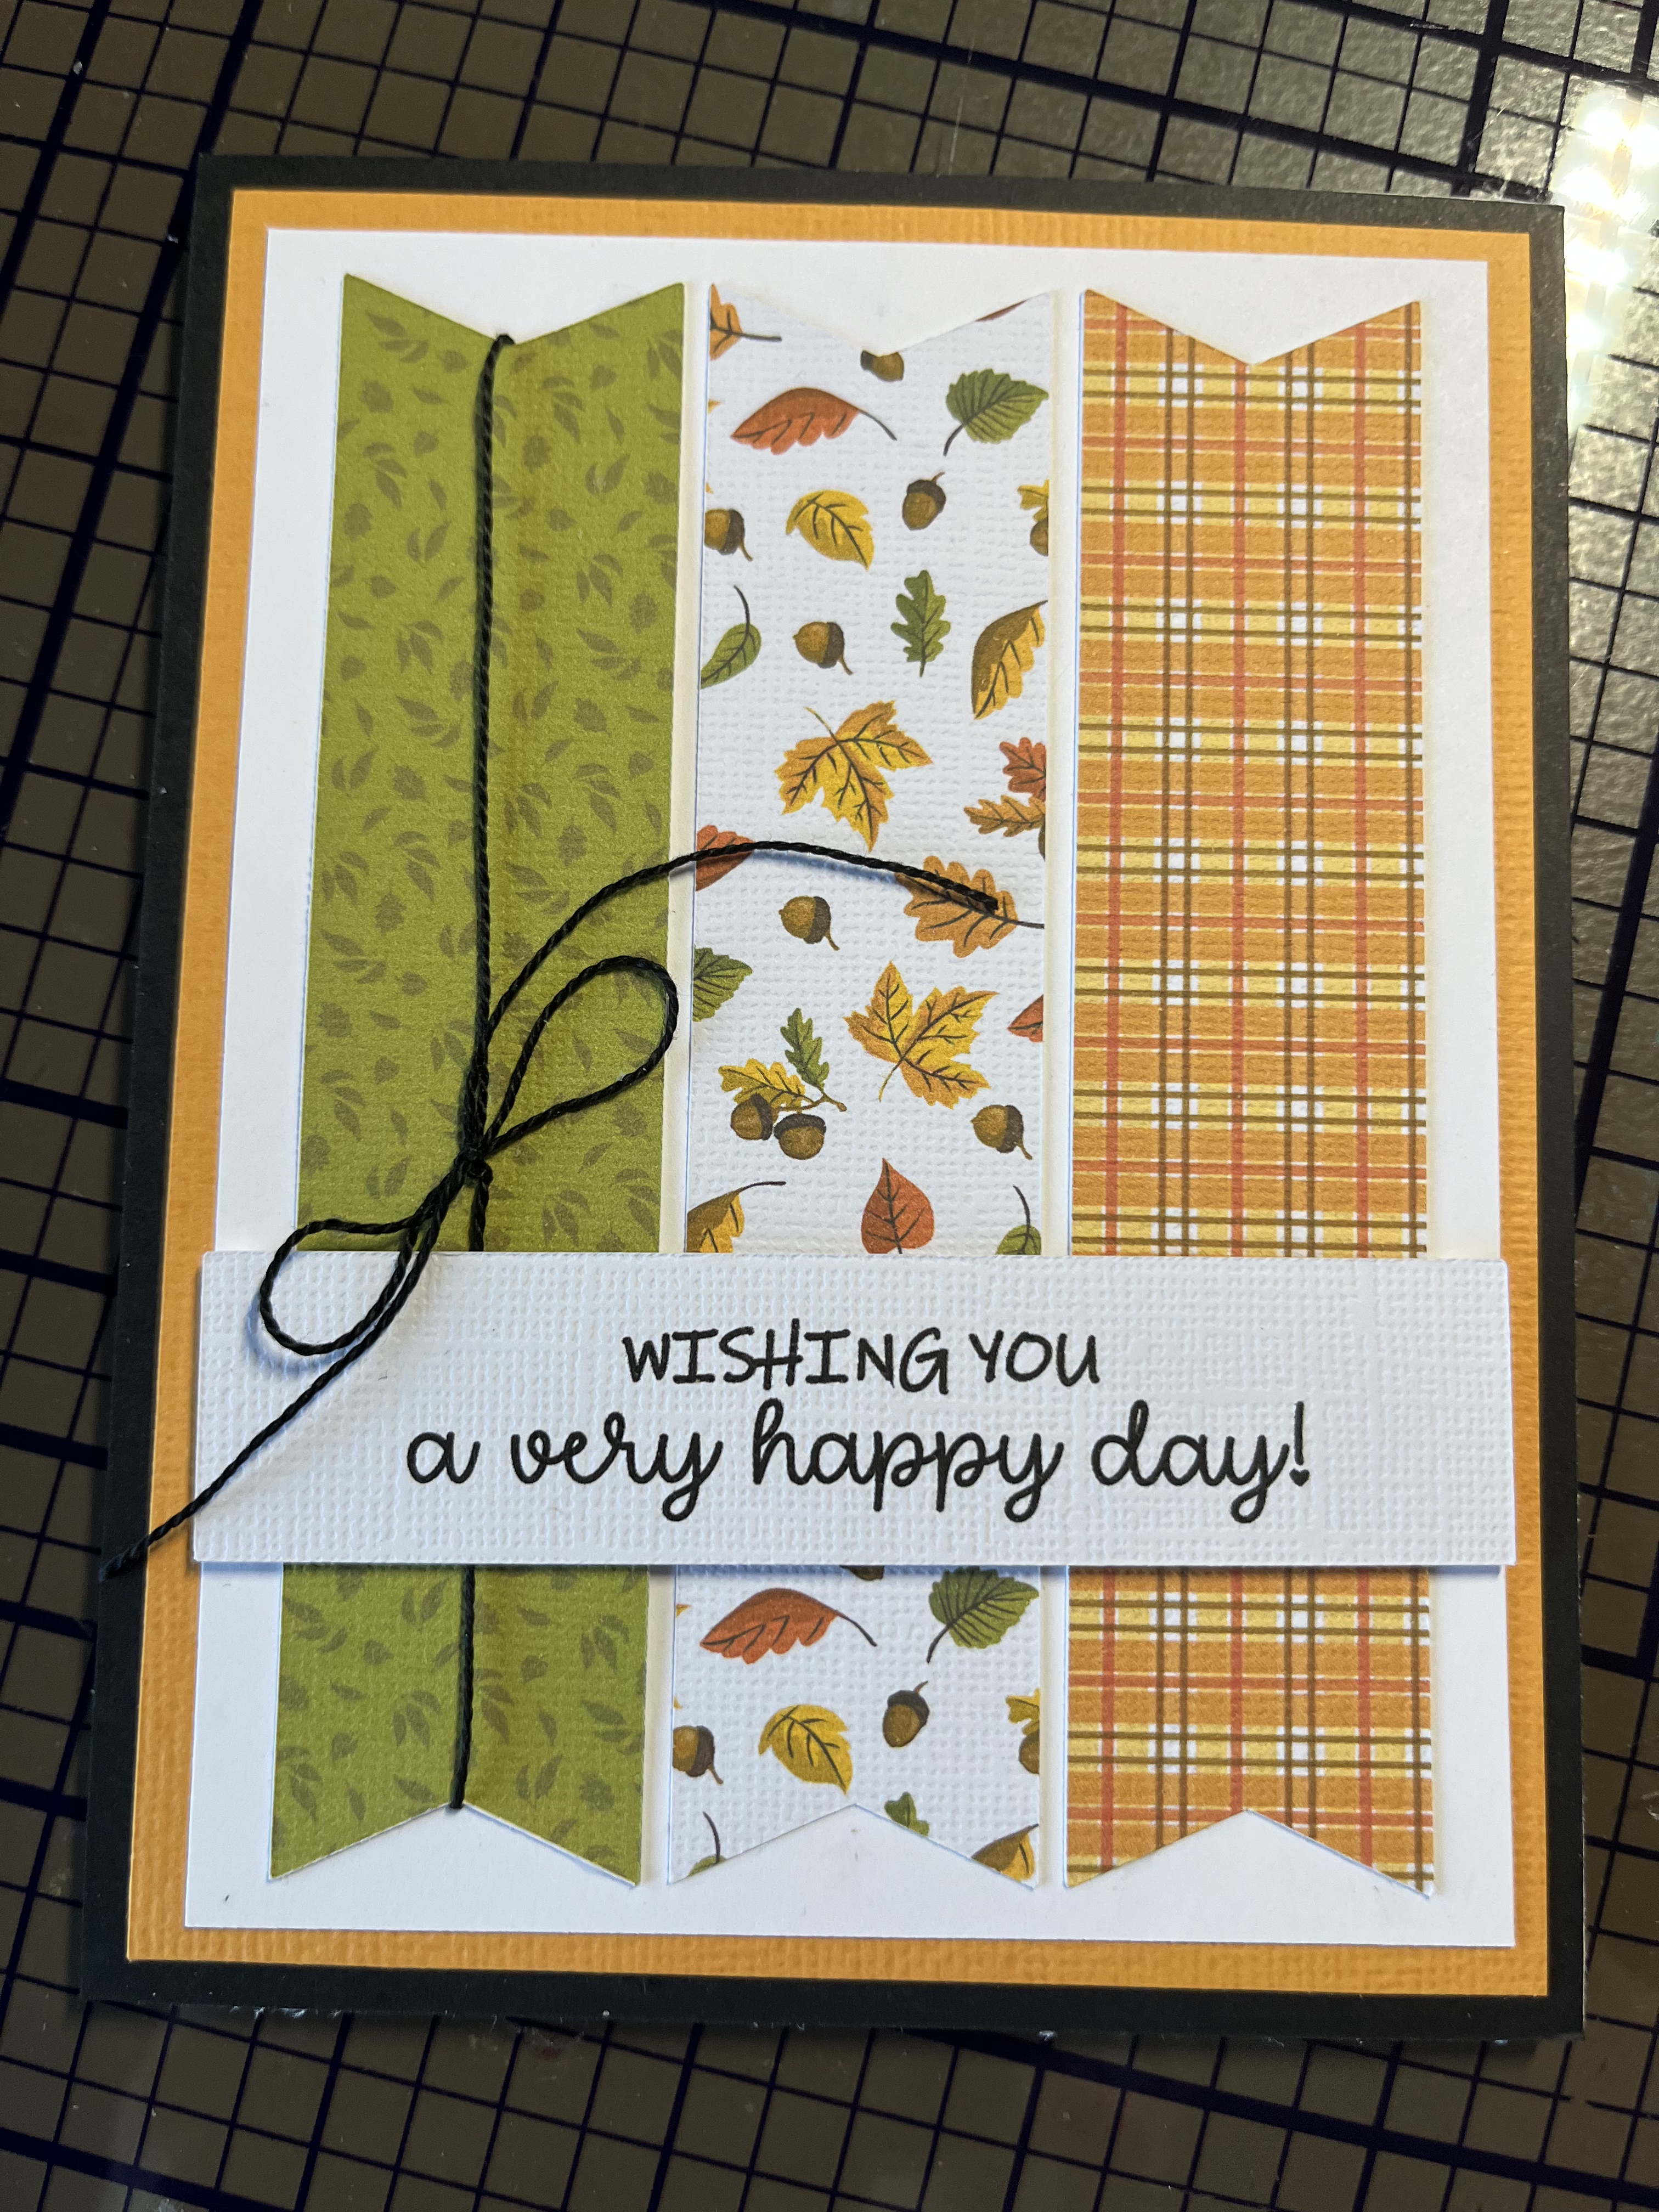
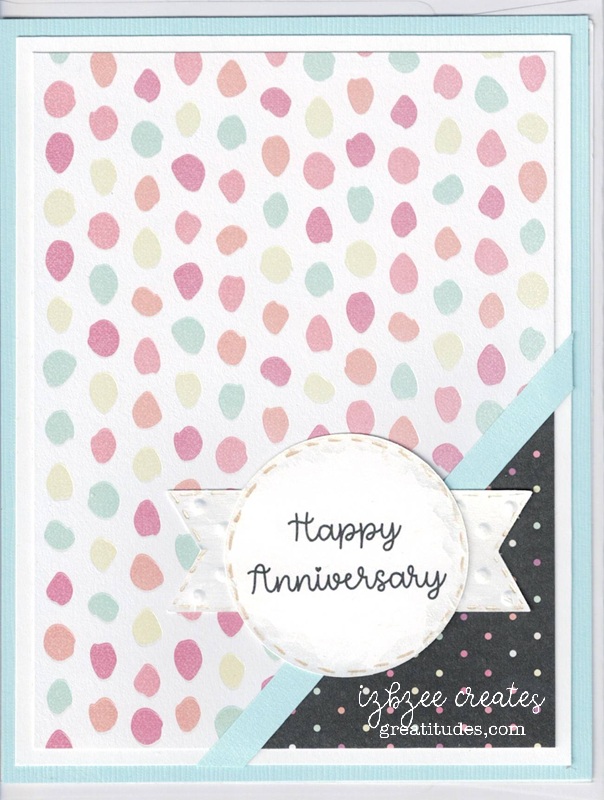
Pinterest inspired. Used an old, old stack of Valentine themed paper (more than 15 years old) to create 6 cards. 4 anniversary and 2 birthday cards. They have been delivered.

There’s more…. coming soon. I’ve been in the studio frequently in the past 45 days or so. It’s soothing to my soul — and with all that’s been going on, I really treasure my time in that space.

more paper fun

One thing I really appreciate about the SCAL software is that ability to resize things with a few clicks of the mouse. I can round corners, add or delete nodes. Play with fonts. Change colors and more. Designing is so much fun and rewarding!

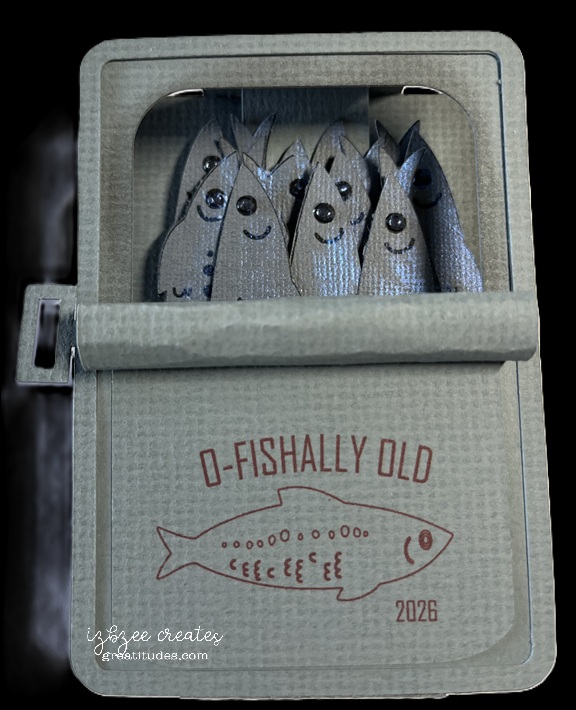
I’ve been eyeing a card on Pinterest for a while, but my budget for purchasing dies and files is on hold for a few weeks. This was an idea that I really needed to get made — so opening SCAL was the first step. All the pieces with the exception of the “fish” were created in SCAL. The fish were a free download from freepik.com. More about them in a minute.

The original card I saw was a slider, but I decided I wanted a box card. Yes, I saw Julie Ebersole’s version of the card, but wanted to do something just a little different, so this is my version.

I traced the jpg version of the file in the software. Once the trace was completed, some of the elements were deleted and those remaining were set to print only. The outline was set to cut. Once the fish were cut, adding a little dimension with some Solar Paste and Nuvo Crystal Drops was all that needed to be done with fish. They were installed on a single insert with some foam tape between layers.

The rolled back top and key were a fun addition. Of course the “label” could be any design your want… I did like this sentiment and there’s plenty of room on the back to add a personalization.

The card folds nearly flat to place in a boxy envelope. It would cost more to mail, but this is a perfect card to hand deliver to a special recipient.

Textures

The challenge for the week was to create something with “texture.” There are so many ideas and my cupboards and drawers are full of some wonderful options.

For this tag, I chose to use some oldies but goodies from my stash – sadly, many things are no longer available.

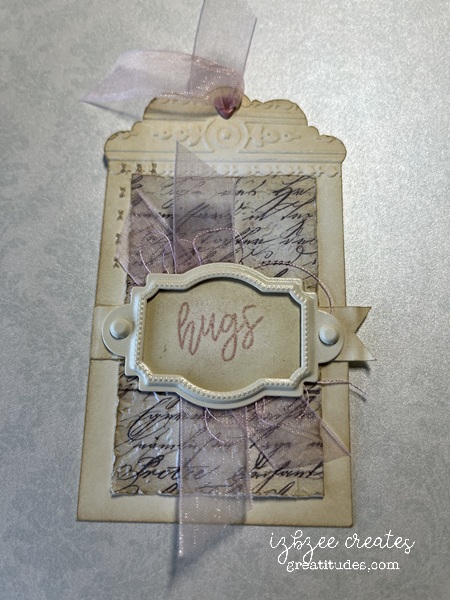
The tag shape was created using two shapes from the SCAL 6 Library and joining them together with the Union command in SCAL 6. Some X’s were added for a little interest on the left side – and were cut not scored during the cutting process by the Skycut. Applied the border embossing folder to the top edge of the tag base. Ink the edges with the distress ink. Add the eyelet.

Cut and emboss the patterned paper piece with a folder, scruff up the edges a bit, ink the edges and glue to the base. Add ribbon and thread and secure in place.

Cut and crimp the strip, ink the edges and glue in place

Cut the backing piece for the frame, stamp and heat emboss the sentiment. Ink the piece leaving the center uninked. Secure in the frame and using brads, secure the frame to the tag base. If desired a backing can be added to the base to hide the brad prongs

Patterned paper – an old 6 x 6 pad (retired long ago)
ivory cardstock
Fiskar crimping tool
border embossing folder – Anna Griffin (Poppy, retired)
Embossing folder – Fun Stampers Journey (retired)
heart shaped eyelet – Eyelets Etc. (retired)
ribbons (stash)
thread (stash)
heat embossing powder -rose
embossing ink – Versa Mark
metal frame – Stampin’ Up! (retired)
hugs stamp – Honey Bee Stamps (Pickup Lines)
distress ink – Ranger (Old Paper)


Hoping your creative time has been productive this week. Thanks for stopping by.

4 layer pull-out card

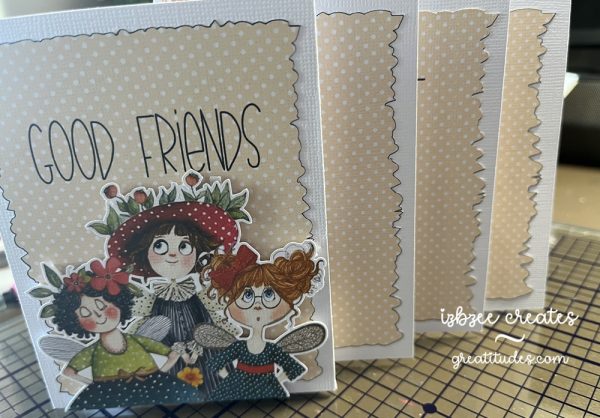
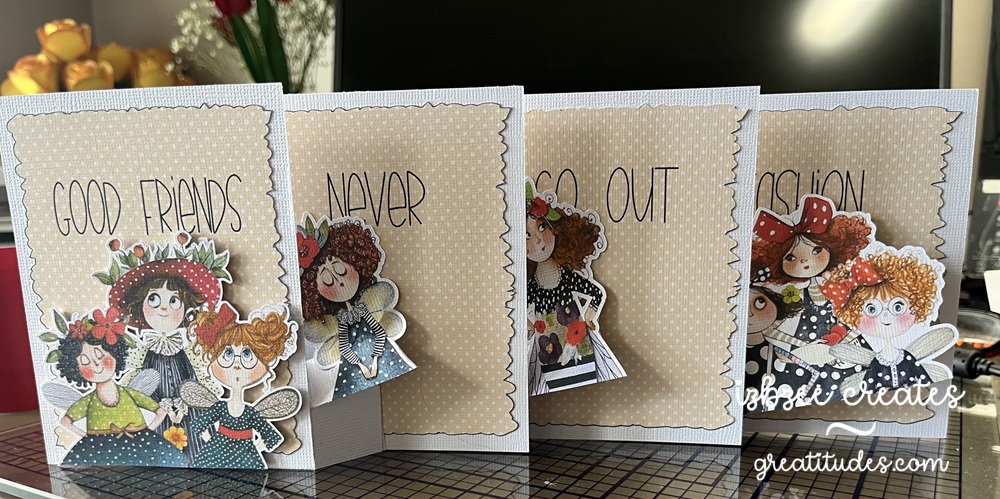
I first saw an example of this card on Pinterest – traced it down to the designer and yep, made a cut file using her free template/measurements found on her YouTube channel. Here’s the link: https://www.youtube.com/watch?v=Wsj4VVUHoDI

The fairy images are from Etsy and the panel image is from Creative Fabrica (one of their many polka dot collections). The opacity is at 33% with a bold dark blue outline which I did want to show a bit when cut. The Deckle edge rectangle is an oldie from Penny Duncan Crafts (2011). The font for the sentiment (Good Friends Never Go Out of Fashion) is Fairy Sketch. No inking on this version of the card.

So fun – It is a little oversized and thick so extra postage on this one.

Have a creative week! Enjoy your time in your studio, browsing for ideas or just musing at your art! And of course, SMILE!

We’ll miss you card

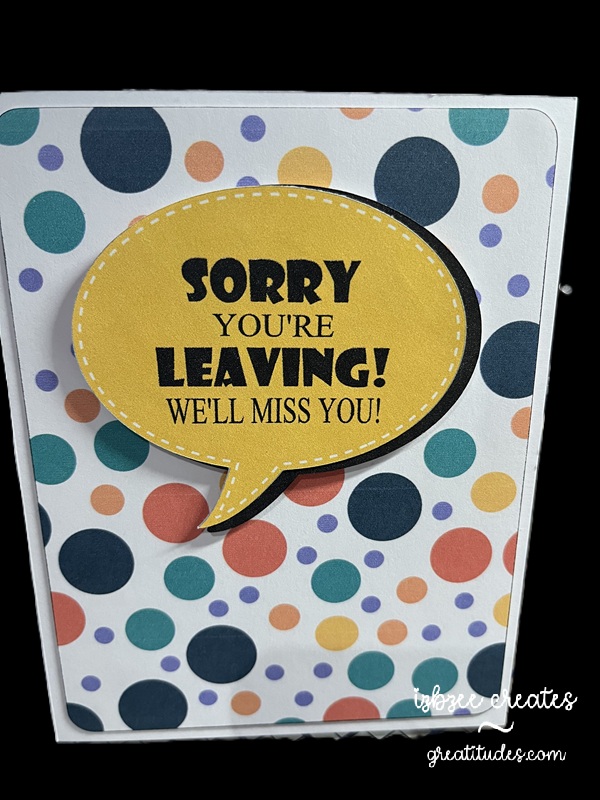
This was a Pinterest inspiration. There are days that something just fits the bill and doesn’t take all day to create. This was one of those quick and easy projects…..

Talk bubble shape is from the SCAL library. Created an inset shadow and changed the outline to dashed. Added another shadow at .075 to go behind the talk bubble. I decided that I would add this as an additional element rather than just having a single layer print and cut… though I think that would work nicely as well. The background paper for the rounded large rectangle was from Creative Fabrica – though I’m not sure it’s still available as I purchased the collection several years ago. The fun font is from Adobe. It’s fun to use more than one font and size for this sentiment.

The bubbles and rectangle are filled with color and pattern and then sent to the printer. Cut using the SCAL 6 software with the Skycut C24 plotter. I really do like my cutter. Print to cut is generally spot on and I don’t have to add a bleed to the shape so ensure an accurate cut.

Hoping you’ll have some time to spend in your creative space soon! Have a great day!


Triple Bridge card

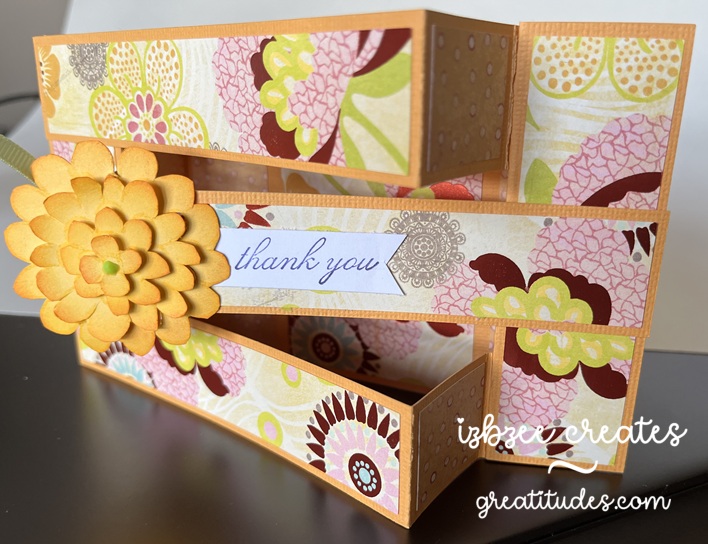
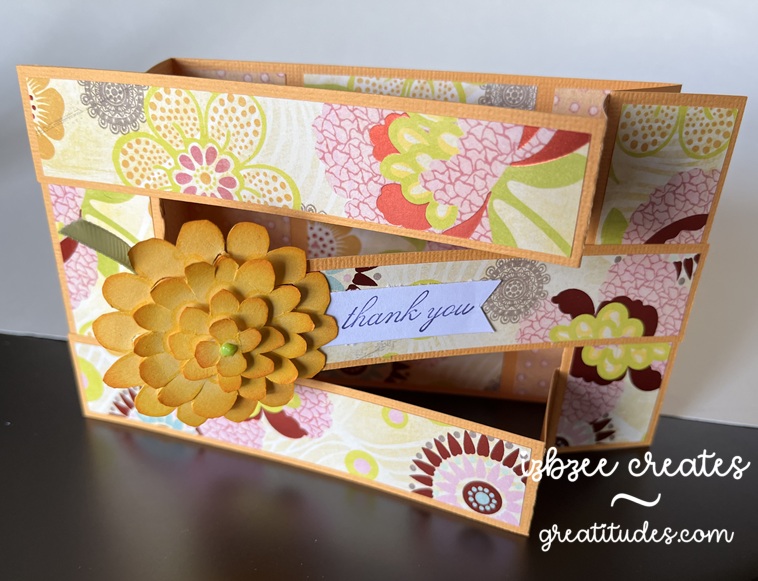
This was a fun card to make — easier than I had originally thought and the inspiration came from a reel as I was scrolling a couple of weeks ago…. yep, I’m finding a few fun ideas here and there during some mindless time on my phone.

The sentiment (thank you) and the flower are from Stampin’ Up! sets long ago retired. *The flower was cut multiple times and then each “layer” was cut separately and inked for a little more volume and interest. The patterned paper is from a very old K&Co stack I purchased while we lived in another state — so it’s likely more than 11 years old.

A fun fact is that the base of the card can be cut from a single 8.5 x 11 inch sheet of cardstock. The panels almost fit on a 6 x 12 inch piece of double sided paper. And probably could if a few of the pieces were moved closer together or were cut by hand.

I enjoyed taking the template measurements and turning this into a SCUT file in SCAL 6 and using my Skycut to cut and save some time in the future when making this card and using digital paper for the panels when certain patterns require some finessing for printing. Only the base and panels were used in the SCUT file.

*The stamp images were not digitized.

You’ll need:

8.5 x 11 inch cardstock in your base color
12 x 12 double sided patterned paper

Scraps for flower and sentiment
Ink pad and blender tool
Glue or dry adhesive (I used Bearly Art Precision Craft glue for this sample, however, I think I’ll use some double sided tape for future makes)
SCAL 6
Skycut C24
Cutting and Scoring Template was found here. I altered the assembly slightly to put my own twist on the idea presented. However all measurements remained the same.

Floral stamp or other stamp for a focal piece
Sentiment stamp


Hoping you’re enjoying an awesome Spring day wherever you are and have inked in some creative time this week or for the upcoming weekend. Enjoy your time and keep nurturing your creative spirit.

Final day of 3 the Spring Tags Reveal

Day3: This was a fun tag to create for the final day of the reveal. All of the foundational pieces were designed in SCAL 6. The digital paper used for the awning of the cart is from NitWit Collection’s Porch Swing Fat Quarter Collection. Print then Cut was so easy and I really like the look. I doubled up that piece and the under piece was colored with some brush watercolor markers in a slightly darker colored pink.

The cart is a pretty fun process and the front wheel is on a mini spinner and that adds a little surprise after using some watercolor maker brushes to add some color and depth. The digital flower strip is from an element in the ephemera collection in Carta Bella’s Spring Market files. I resized the image a bit to fit in the cart. I added some baby’s breath as well. The hot glue almost looks like water in the wells that hold the stems.

Foam tape
Bearly Art Glue
Mini Spinner
Baby’s breath

All but the floral strip were cut using the SCAL 6 software and Skycut C24.

Enjoy a creative day! Take care and have some fun!

3 Spring Tags – Reveal Day 2

Day 2’s tag started out as white paper. I love the ombre look and while it really isn’t shabby chic, it was still fun to create. This is a pinterest inspired project. I know there’s a die that does something similar, however, this one is my design using elements from the SCAL software and the Impact font.

It was fun to play with the font — using several commands and then join to a frame created using a rectangle and an inset shadow layer and another command found in the software. Adding the heart border was quite easy and adds just enough detail that I really like how it makes the boxy framed word a little softer. All layers are inked, the top layer uses two colors blended softly and then the lower two layers are inked to add a little more interest around the edges.

A few gems were added for some added texture (you can’t really see it in the pic) and sparkle.

Ribbons are from my stash.