stamping

Tower Double Pinwheel card

This was a fun one to create. I basically followed the directions from Crystal Best’s YouTube video for this one. I chose some junk journal images I found on Creative Fabrica (loved the dimension on the images) and a couple of other files also from CF (lined vintage background images and Pastel Ombre images.)*

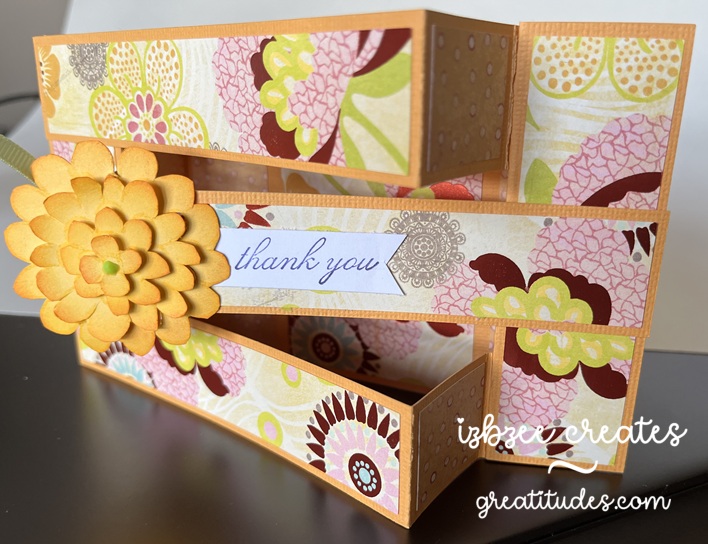
The finished tower is actually quite sturdy and there are quite a few options on how you use your images of choice on each of the “wings.”

I did turn the smaller layers sideways in my cutting file — my bad, but that’s an easy fix for future makes. This design would also make for a fun mini album or mini journal in a larger album. I made this one in the A2 size (4.25 x 5.50 inches). However, Crystal also has directions for a 5 x 7 design in the same video as shared above which would also be perfect for using some cherished photographs or other small artwork.

A couple of things I really like about the SCAL 6 software (basic or pro) is the option to fill shapes with images using the Pattern command or using a mask option in the software to fussy cut an image. And the Skycut C24 cuts spot on when using the Print 2 Cut option in the software when the calibration has been set. Even better is that regardless of updates to the software, you don’t need to recalibrate the camera/laser. The cutter is a fabulous machine. If the pricing is out of your budget, Skycut is also making a few other machines under different brands (SOLO by Starcraft, Juliet and Romeo by Siser). I’ve heard great things about them all and they can also use the SCAL software as well as the proprietary software sold with the machine.

*I have used affiliate links for all of the Creative Fabrica files I used in this project. If you choose to purchase the files, I will receive a small amount from the sale. Additional costs are not added to your purchase to cover that. AND a huge Thanks for using the links!

Triple Bridge card

This was a fun card to make — easier than I had originally thought and the inspiration came from a reel as I was scrolling a couple of weeks ago…. yep, I’m finding a few fun ideas here and there during some mindless time on my phone.

The sentiment (thank you) and the flower are from Stampin’ Up! sets long ago retired. *The flower was cut multiple times and then each “layer” was cut separately and inked for a little more volume and interest. The patterned paper is from a very old K&Co stack I purchased while we lived in another state — so it’s likely more than 11 years old.

A fun fact is that the base of the card can be cut from a single 8.5 x 11 inch sheet of cardstock. The panels almost fit on a 6 x 12 inch piece of double sided paper. And probably could if a few of the pieces were moved closer together or were cut by hand.

I enjoyed taking the template measurements and turning this into a SCUT file in SCAL 6 and using my Skycut to cut and save some time in the future when making this card and using digital paper for the panels when certain patterns require some finessing for printing. Only the base and panels were used in the SCUT file.

*The stamp images were not digitized.

You’ll need:

8.5 x 11 inch cardstock in your base color
12 x 12 double sided patterned paper

Scraps for flower and sentiment
Ink pad and blender tool
Glue or dry adhesive (I used Bearly Art Precision Craft glue for this sample, however, I think I’ll use some double sided tape for future makes)
SCAL 6
Skycut C24
Cutting and Scoring Template was found here. I altered the assembly slightly to put my own twist on the idea presented. However all measurements remained the same.

Floral stamp or other stamp for a focal piece
Sentiment stamp


Hoping you’re enjoying an awesome Spring day wherever you are and have inked in some creative time this week or for the upcoming weekend. Enjoy your time and keep nurturing your creative spirit.