Another Pinterest inspiration. I found an icon for the bubble topped cup online. With all the hotter than hot weather we’ve been having and we’re back in the triple digits again, I thought this would be a fun way to end the challenge this year.
I used acetate for front and back, so the “cup” is clear and can be seen from both sides. The seed beads are from Michaels and at the time of this writing were 40% off (all jewelry stuff). I’m thinking I should have used more beads and made the bubble top a separate section, but due to some time constraints, kept it simple for this version.
I used a couple of buttons from the stash and some banner shapes for additional interest.
AC white textured cardstock red marker; blue ink Bearly Art Glue buttons seed beads (red matte)
Pinterest inspiration as well. I did change it up a bit and used several different techniques and media. The tag is from the SCAL library (Tags and Banners folder)
The base, flowers and sentiment piece are sketch pad paper. Leaves, flower centers and ladybug are cut using Encore and Bazzill cardstock
I used some pan pastels and watercolor ink refill for the tag base after stamping with a honeycomb background stamp. The flowers also have pan pastel and some ink splatter.
The sentiment was generated in SCAL and then foiled using the Foil Quill. I added some cheesecloth on top of the tag (you can’t see it) for a base to build on.
I really like how this one turned out. Texture, color and depth.
Sketch pad paper (9×12 sheet) SCAL Anenome files from Dreaming Tree Ladybug file from Creative Fabrica (I did alter the file – adding a stitched line and changed the hearts into circles. Leaves from a FSJ’s die set, I did use some tweezers to add some dimension and then inked the leaves.
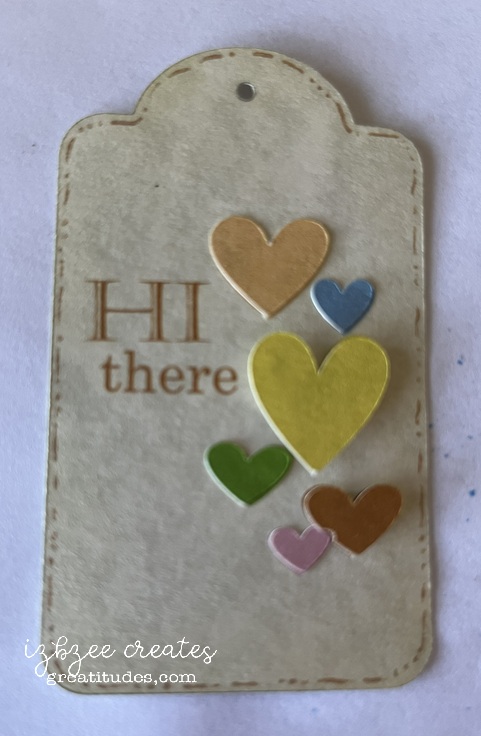
Summer challenge. It’s our annual 3 tags of Summer challenge and today is day one. This tag was an inspiration from Pinterest. The tag was created in SCAL using a rounded rectangle and half circle. The base was a piece of parchment paper — The Hi There was printed following the P2C format in SCAL. I did choose to print the hearts for help in placement. A second set of hearts was printed and cut to top the ones on the base. I used glue and foam tape to secure the cut hearts in place. This adds some dimension, which I really like.
Base: Parchment paper Printer: Brother Inkvestment Fonts: from the font library on the PC Bronze Gel Pen and ribbon from stash
The challenge for the week was to create something with “texture.” There are so many ideas and my cupboards and drawers are full of some wonderful options.
For this tag, I chose to use some oldies but goodies from my stash – sadly, many things are no longer available.
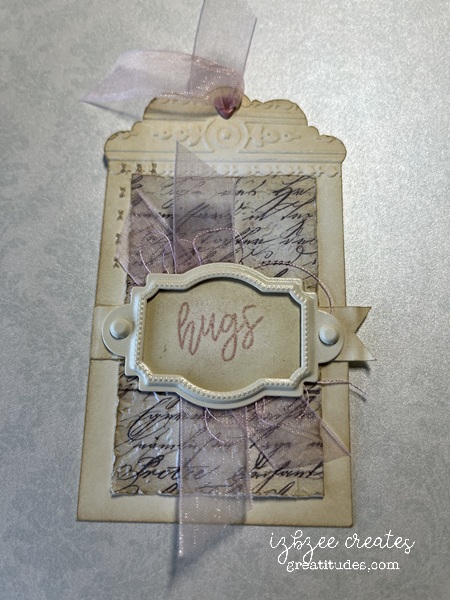
The tag shape was created using two shapes from the SCAL 6 Library and joining them together with the Union command in SCAL 6. Some X’s were added for a little interest on the left side – and were cut not scored during the cutting process by the Skycut. Applied the border embossing folder to the top edge of the tag base. Ink the edges with the distress ink. Add the eyelet.
Cut and emboss the patterned paper piece with a folder, scruff up the edges a bit, ink the edges and glue to the base. Add ribbon and thread and secure in place.
Cut and crimp the strip, ink the edges and glue in place
Cut the backing piece for the frame, stamp and heat emboss the sentiment. Ink the piece leaving the center uninked. Secure in the frame and using brads, secure the frame to the tag base. If desired a backing can be added to the base to hide the brad prongs
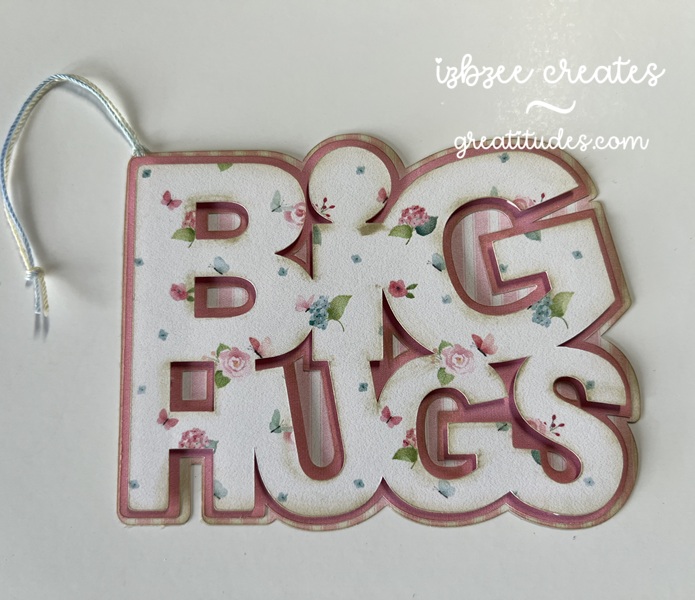
Patterned paper – an old 6 x 6 pad (retired long ago) ivory cardstock Fiskar crimping tool border embossing folder – Anna Griffin (Poppy, retired) Embossing folder – Fun Stampers Journey (retired) heart shaped eyelet – Eyelets Etc. (retired) ribbons (stash) thread (stash) heat embossing powder -rose embossing ink – Versa Mark metal frame – Stampin’ Up! (retired) hugs stamp – Honey Bee Stamps (Pickup Lines) distress ink – Ranger (Old Paper)
Hoping your creative time has been productive this week. Thanks for stopping by.
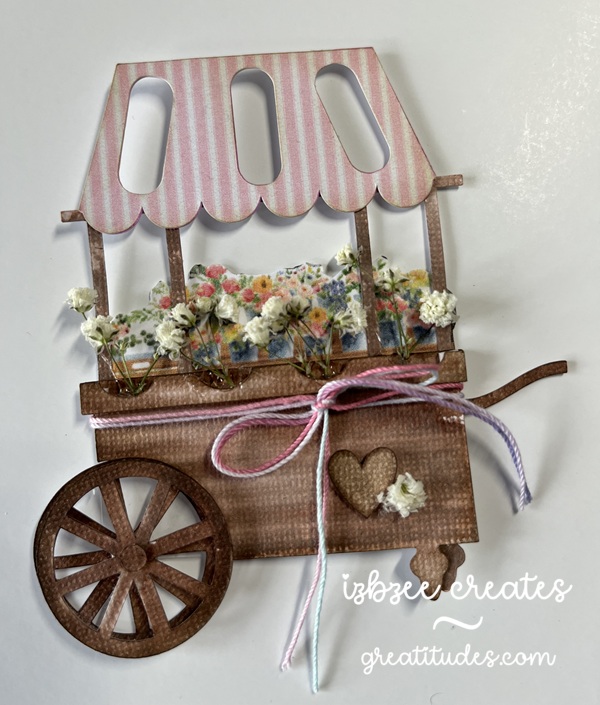
Day3: This was a fun tag to create for the final day of the reveal. All of the foundational pieces were designed in SCAL 6. The digital paper used for the awning of the cart is from NitWit Collection’s Porch Swing Fat Quarter Collection. Print then Cut was so easy and I really like the look. I doubled up that piece and the under piece was colored with some brush watercolor markers in a slightly darker colored pink.
The cart is a pretty fun process and the front wheel is on a mini spinner and that adds a little surprise after using some watercolor maker brushes to add some color and depth. The digital flower strip is from an element in the ephemera collection in Carta Bella’s Spring Market files. I resized the image a bit to fit in the cart. I added some baby’s breath as well. The hot glue almost looks like water in the wells that hold the stems.
Foam tape Bearly Art Glue Mini Spinner Baby’s breath
All but the floral strip were cut using the SCAL 6 software and Skycut C24.
Enjoy a creative day! Take care and have some fun!
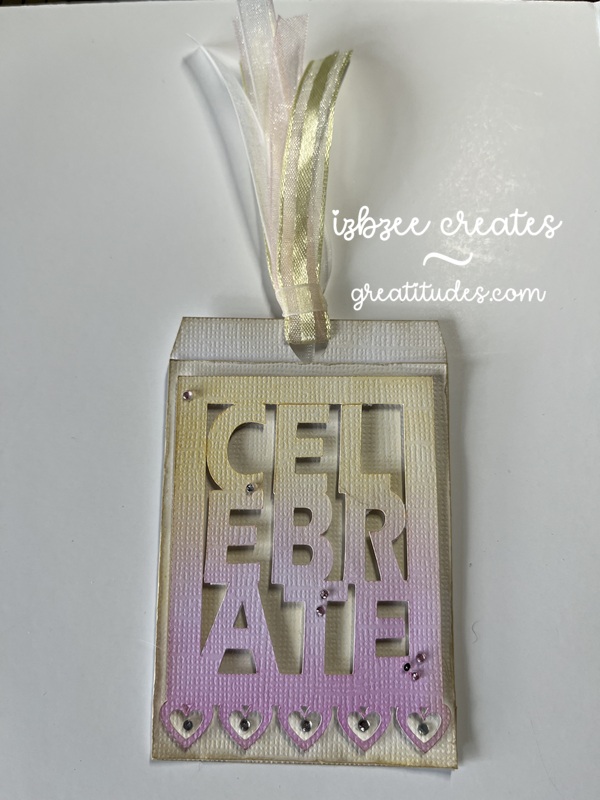
Day 2’s tag started out as white paper. I love the ombre look and while it really isn’t shabby chic, it was still fun to create. This is a pinterest inspired project. I know there’s a die that does something similar, however, this one is my design using elements from the SCAL software and the Impact font.
It was fun to play with the font — using several commands and then join to a frame created using a rectangle and an inset shadow layer and another command found in the software. Adding the heart border was quite easy and adds just enough detail that I really like how it makes the boxy framed word a little softer. All layers are inked, the top layer uses two colors blended softly and then the lower two layers are inked to add a little more interest around the edges.
A few gems were added for some added texture (you can’t really see it in the pic) and sparkle.
For the last 5 or so years, one of the Facebook groups I belong to has been celebrating the arrival of Spring with a Spring Tag Reveal. This year is no exception — in years past, we’ve done anywhere from 3 to 5 tags… this year, we’re doing 3.
It’s looking like Shabby Chic will be my theme for this season’s tags. I used a couple of digital collections in my stash and some inspiration from Pinterest. I did purchase a file for today’s tag from Etsy and resized 2 of the pieces to form my tag.
DAY1: Layered looks are always fun! Digital paper selections are from the Porch Swing Fat Quarter Collection from Nit Wit Collections provided the patterns for this layered tag. The edges of each layer is inked with Oatmeal Cookie from FSJ (retired) and some foam tape was used to pop the top layer of the tag up. Bearly Art glue was used to adhere the bottom two layers of this tag together. Cotton crochet thread was used for the hanger.
Looking forward to sharing the next two tags over the next two days. Hoping you’re carving out some creative time on a regular basis. Have some fun!
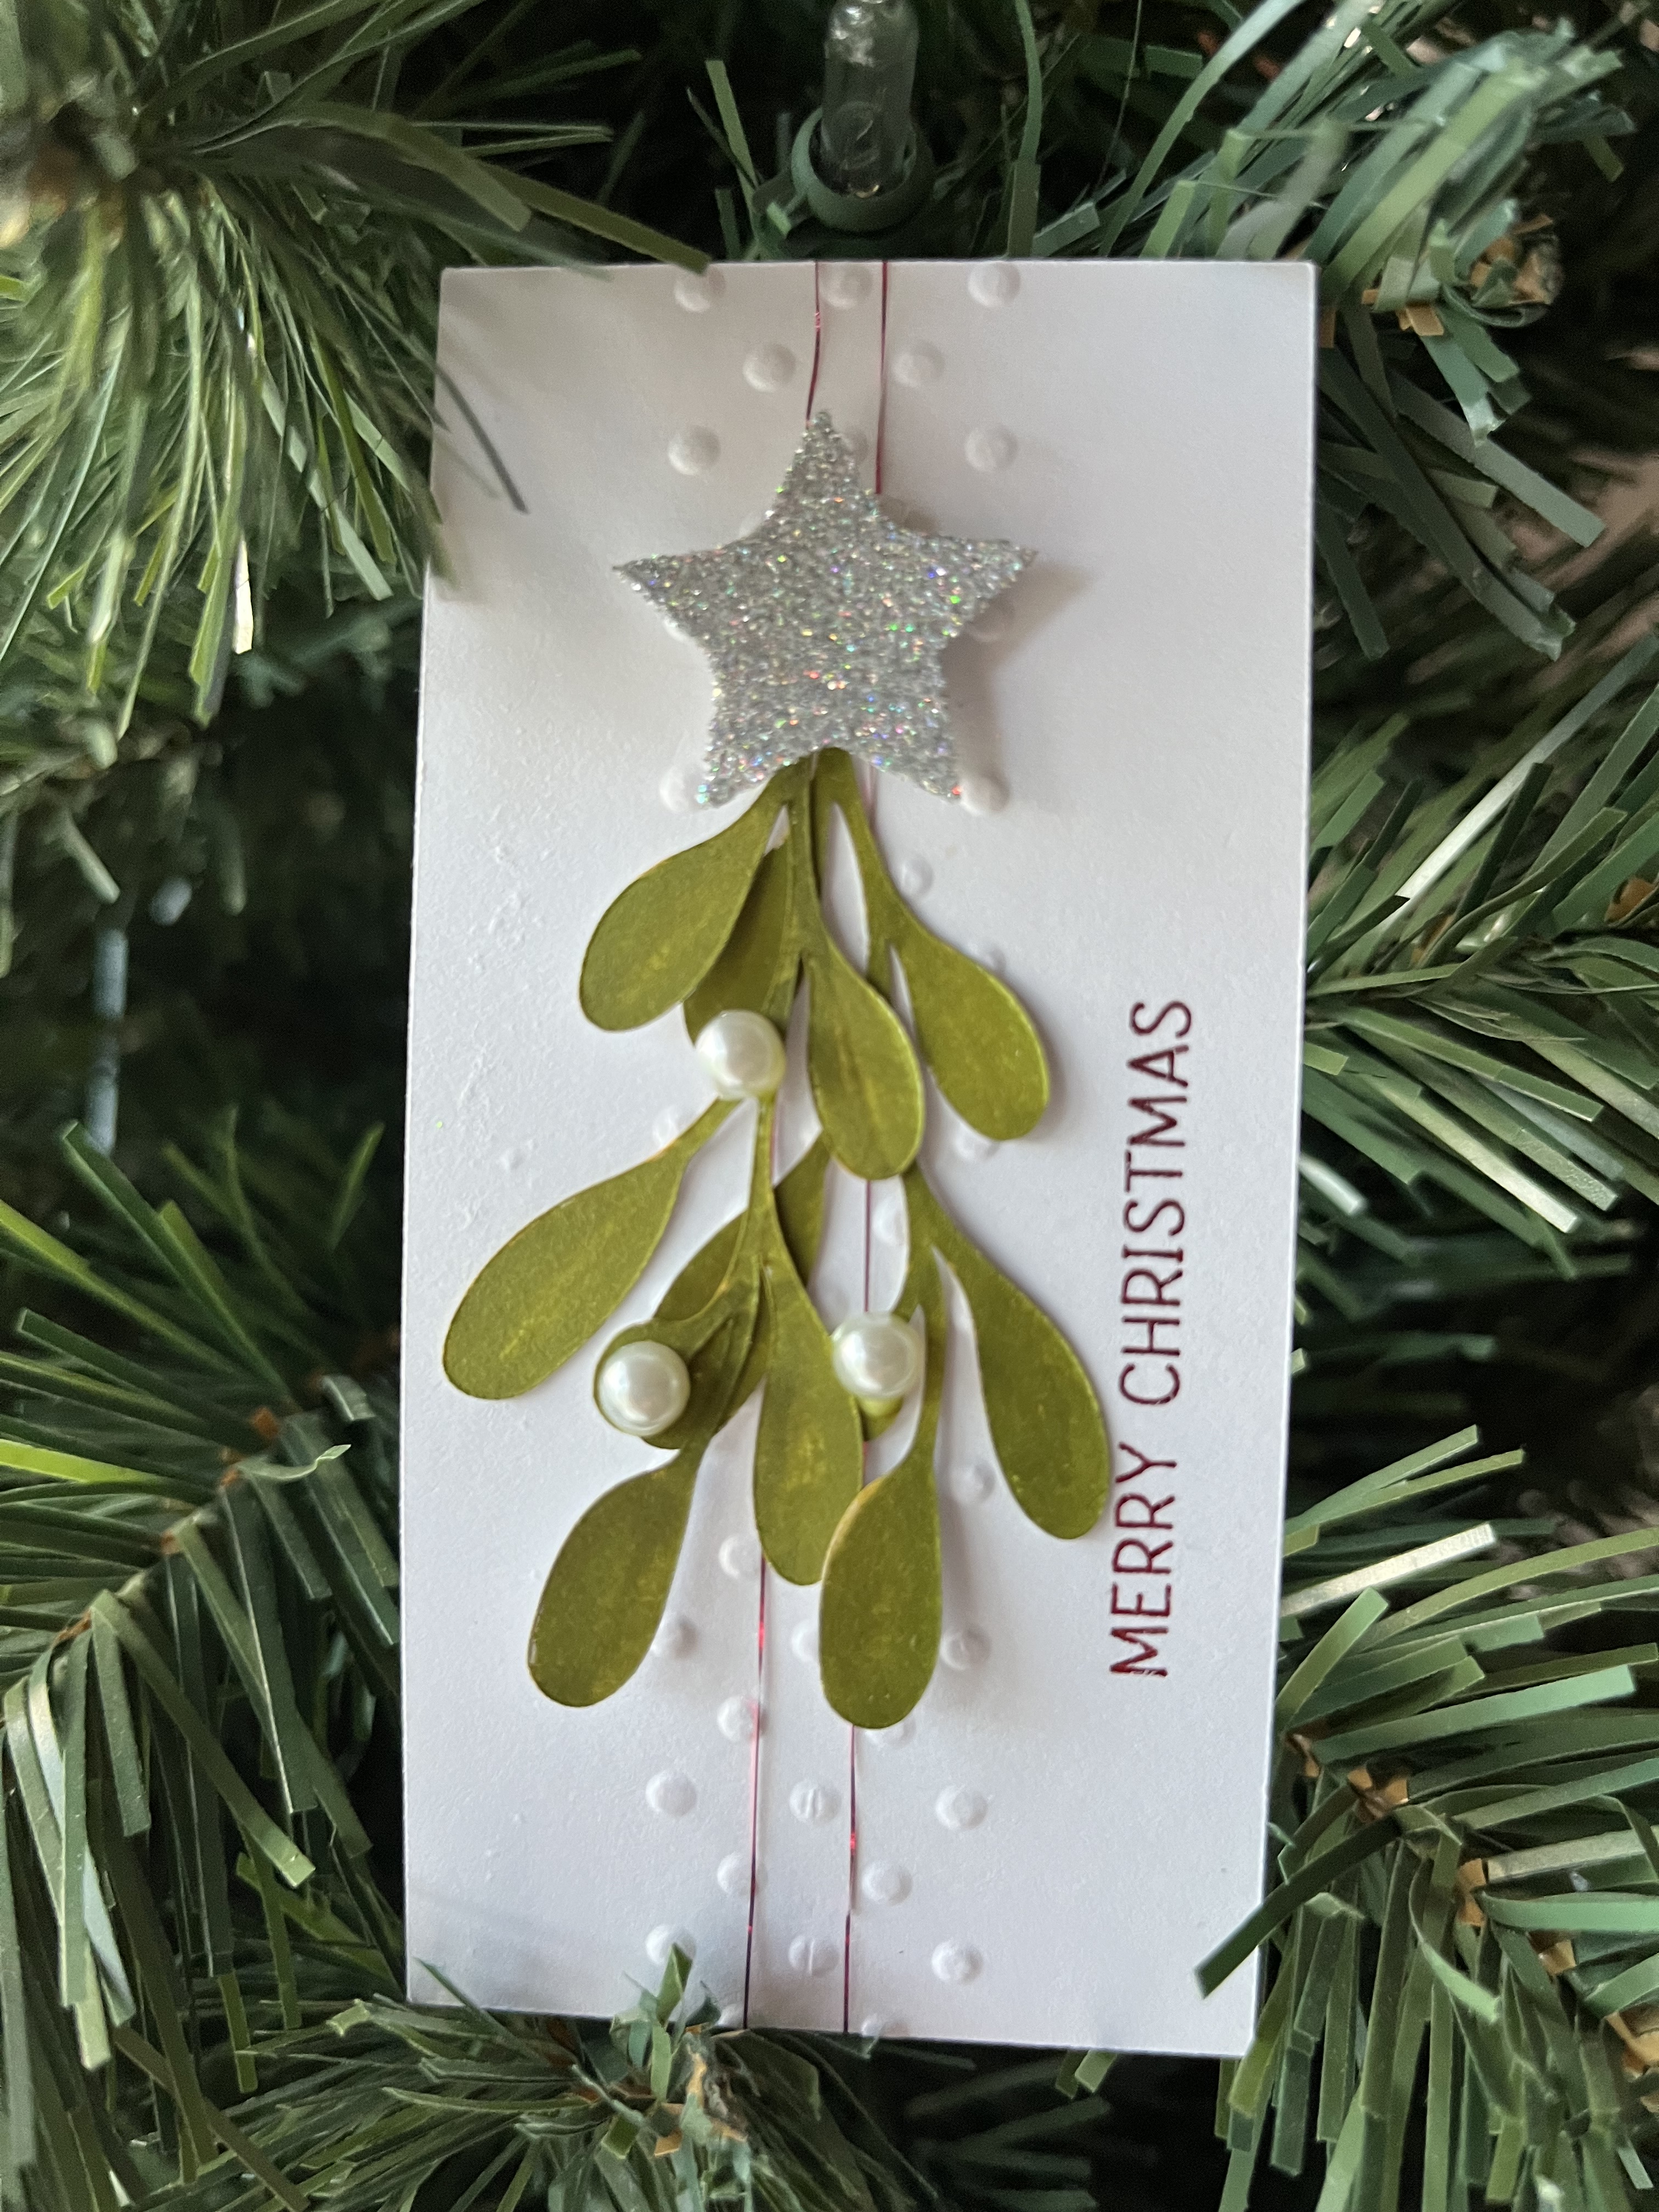
I really like this tag. The mistletoe cut is from a collection I found at Creative Fabrica. The embossing was done using an old border folder and the “merry Christmas” was done using the Foil Quill. Half pearls and some metallic thread and a glittered star round out the rest of the details for this tag. It would also work as a panel for a future card — maybe next year’s card… we’ll see.
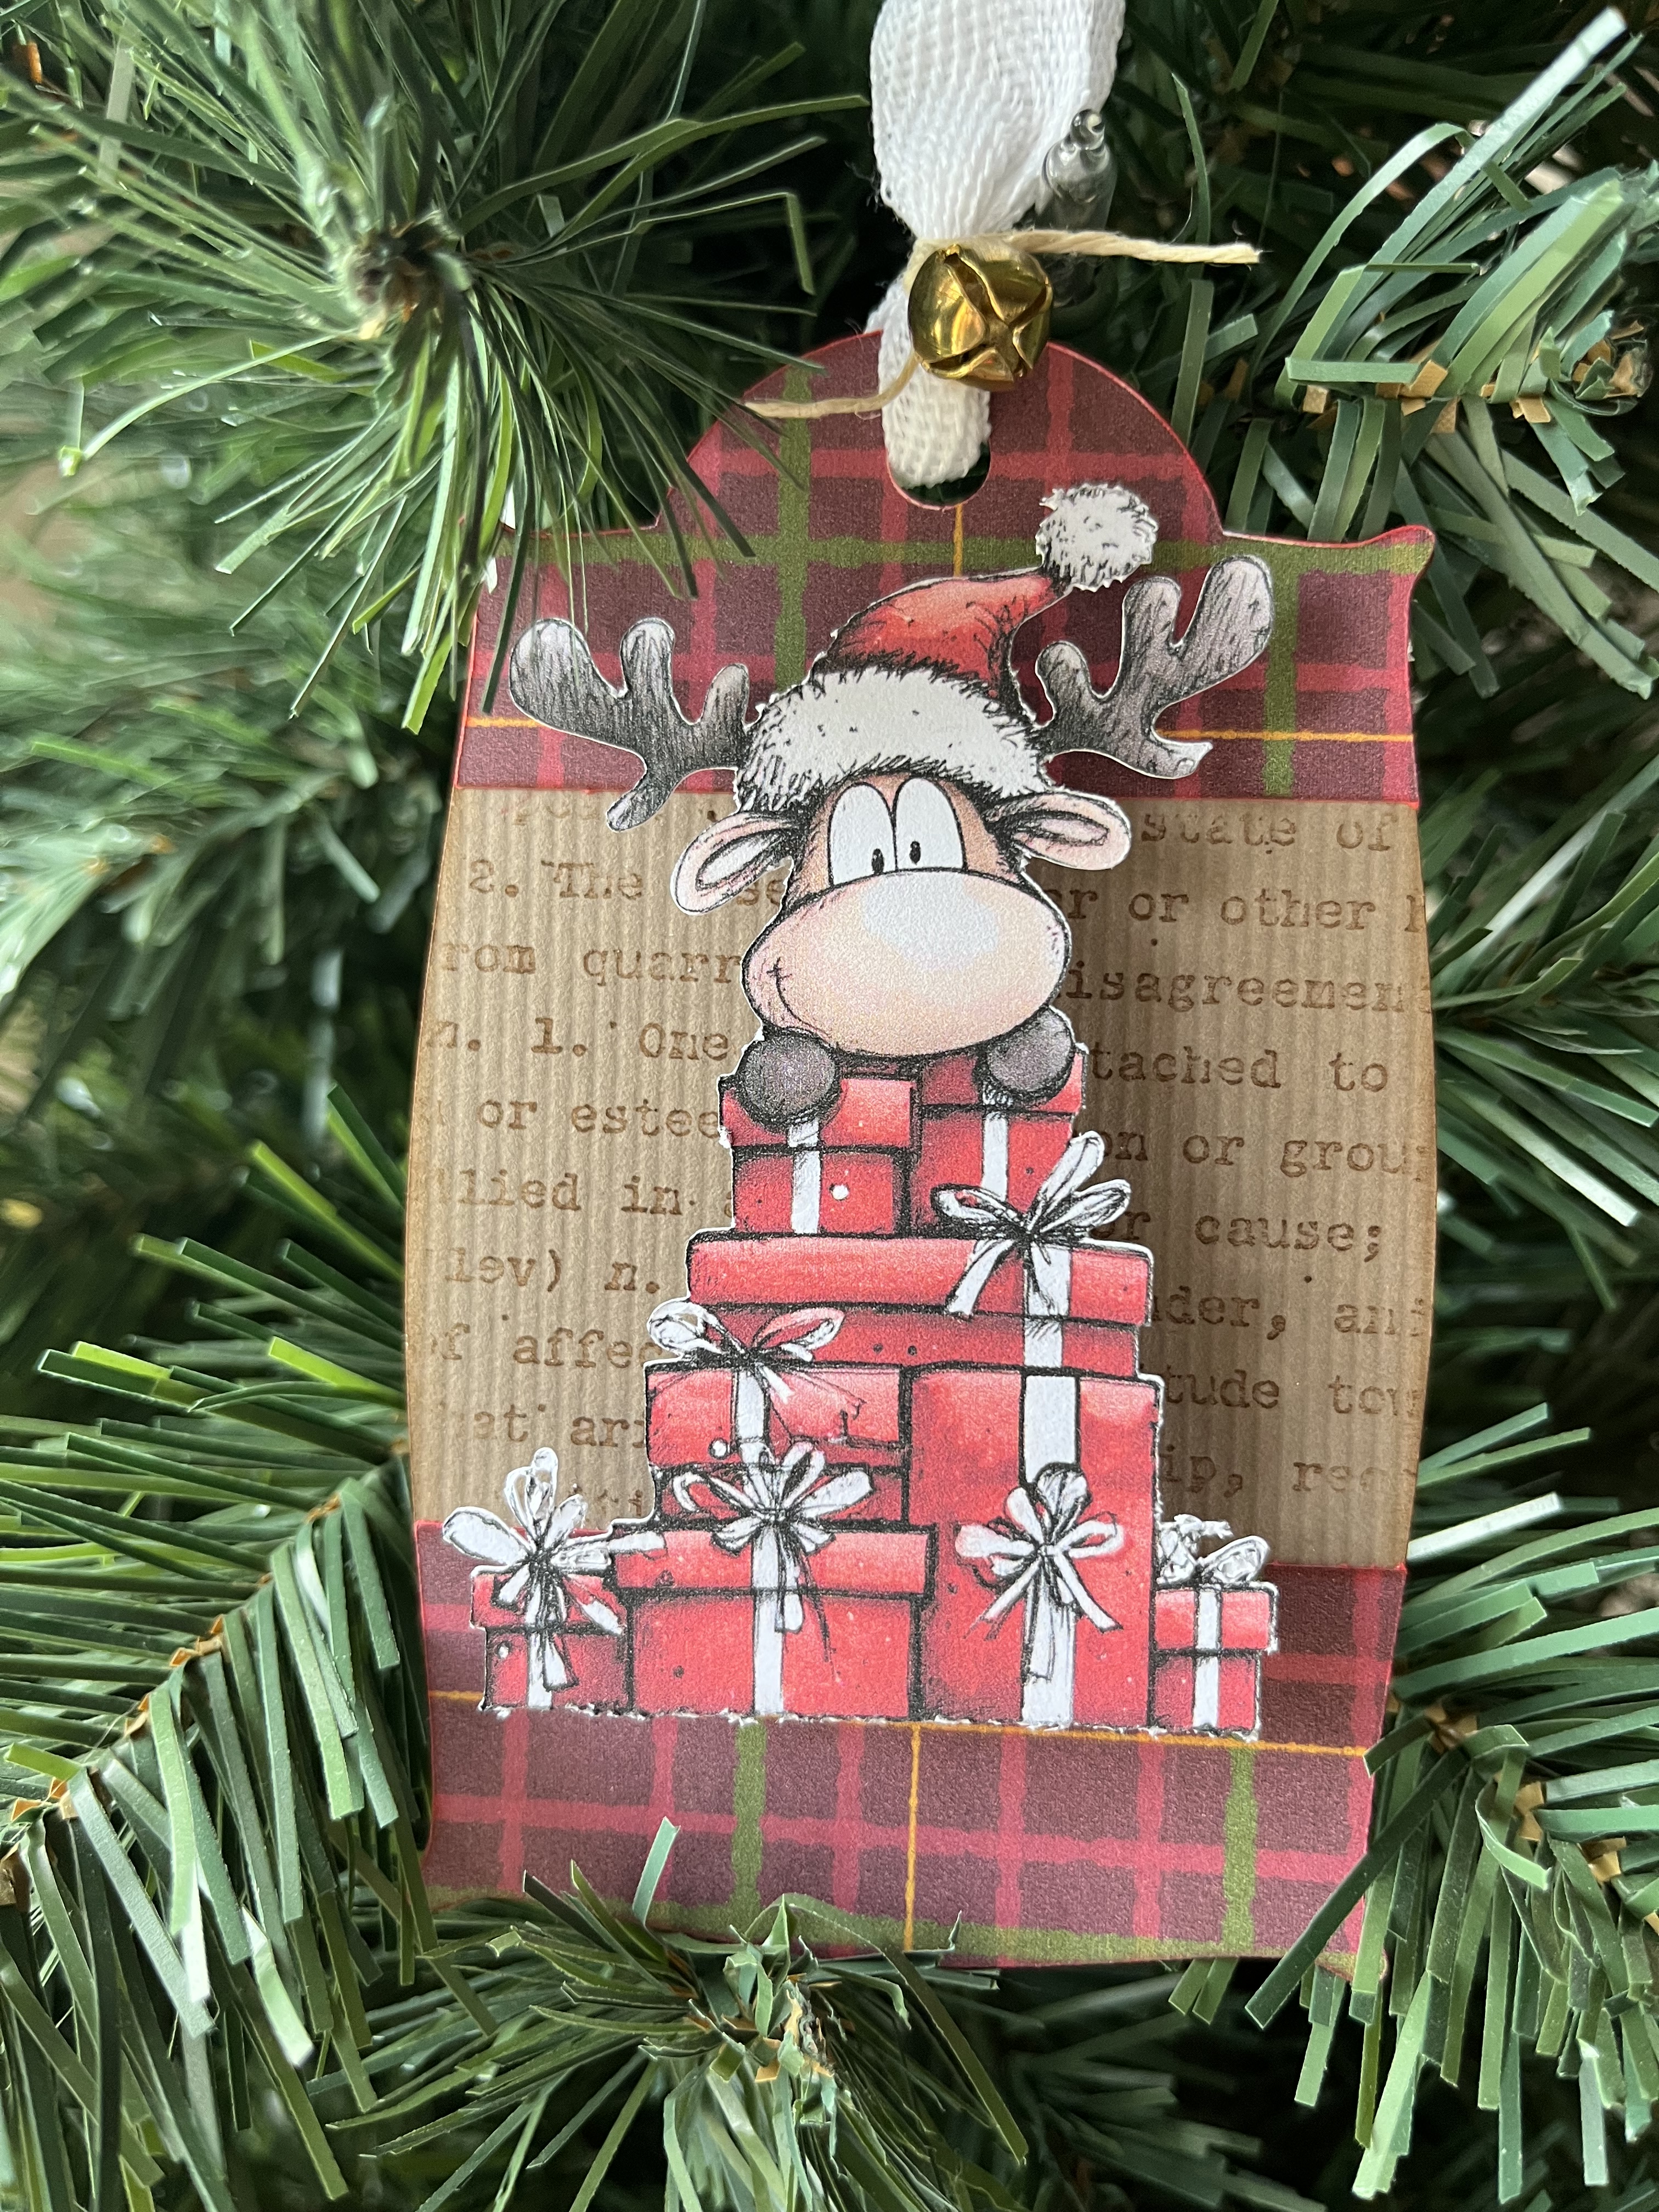
Digital image from Creative Fabrica. The plaid is from an old Carta Bella Christmas/Winter collection. I did use an old background stamp for the base of the tag and added some cuts in the plaid for trim. The digital image is propped on a wobble and it’s fun to watch it shiver and shake!
Over the course of the years, I’ve tried to include one tag that has some interactive component – music, lights, wobble, motor, etc. This year, I opted to use a chibi light on a reed switch circuit. The last time I tried that particular circuit I couldn’t get it to work… this year, it worked on the first try! I’ve had some fun with it and the bar magnet was a perfect tool for the on/off switch! I’ll be using that circuit again for sure. The tag shape was created using shapes in the SCAL library. I used two layers of foam tape to allow for the depth of the switch and battery. Since the switch is generally in the off position, the battery lasts much longer than if I was using a regular circuit and a switch at the battery.
These tags are always fun to make. Hopefully, next year, we can bypass the pneumonia and other issues and just have time to play and create! I’m looking forward to it!
this year was a bit different than previous years’ reveals. I wasn’t able to finish all 12 tags due to illness… so instead of doing several different posts this year, I’m going to do just a couple. So let’s get started:
Lots paper piecing this year — most files were already on the computer, found for free online or inspired by something on Pinterest.
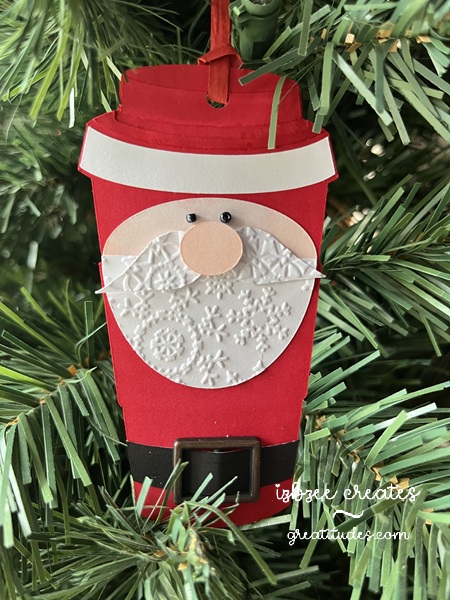
This first tag is a go cup – all the facial features were created using simple shapes in SCAL. Love being able to use up a ton of scraps as well this year. The embossing folder is from Crafter’s Companion – likely retired by this point in time.
I’ve always liked this bear stamp — I’ve used it for several different projects including birthday cards. For this tag, I added some digital paper from an old Echo Park collection and a bit of the paper yarn I made last fall. The sentiment is foil quilled and the SCAL software makes it to easy to complete a print to cut; foil to cut project!
A third tag is a fun piece — I’ve created something similar a couple of years ago, but I do like this version of the “peeker”. A little bit of ribbon, some Nuvo drops and a white paint/gel pen for details. Fun way to use your scraps again.
Using a file for a laser ornament — the file was from Creative Fabrica. Super easy to do and I just used 2 extra layers of paper to get the look I was after. All paper is from AC cardstock – with texture.
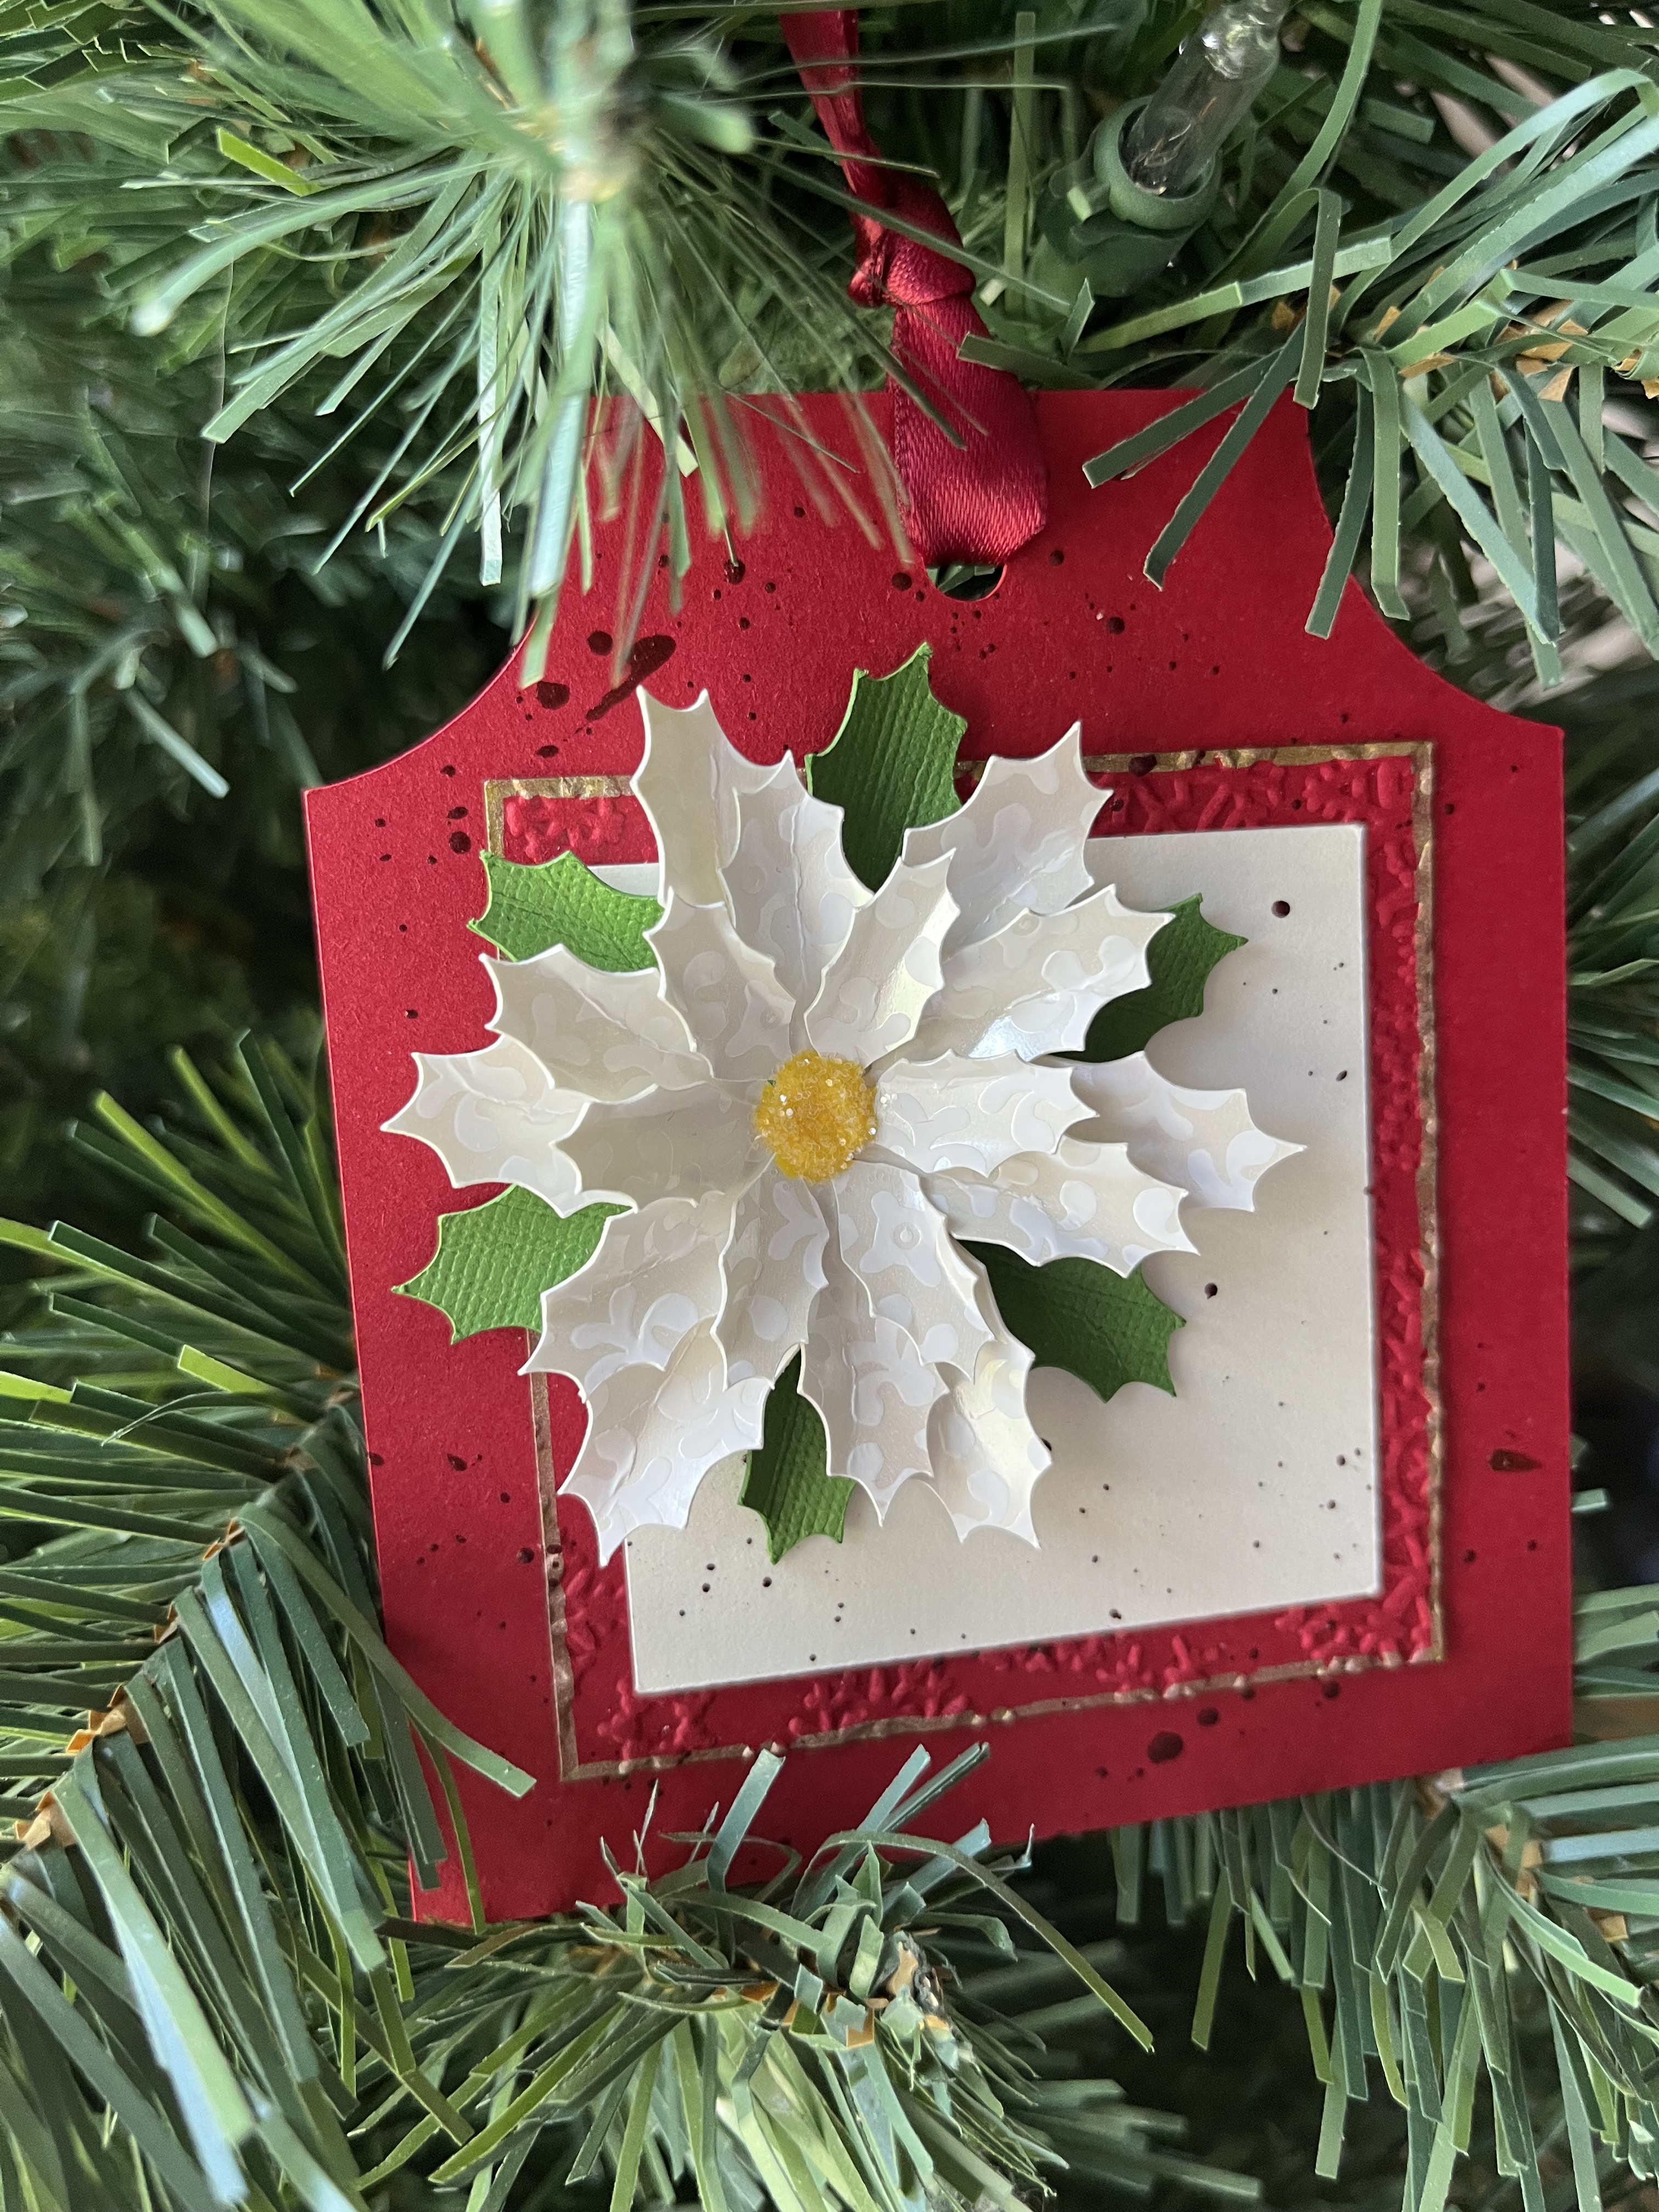
Poinsettia’s are a favorite of mine… they come in all sorts of colors and I thought that the white on white would be a perfect way to display this one. The file is from Maison Gregoria, reduced in size to about 2 inches across finished. Tag shape is made from simple shapes and a little bit of gold pen on the panel edge adds a little more texture to this tag.
We’ll stop there for now…. Just a few more to go and I’ll share those tomorrow.
I saw something similar a few weeks ago on Pinterest and thought I would try my hand at doing something like it for my final tag in this challenge.
I drew and colored the bat in Procreate. After saving it as a png, I was able to do a little final editing in Photopea (an online photo editing program-free) before importing into SCAL. I did hand cut the white portion of the eyes so I could put a small piece of vellum behind that now open space with the goal of adding lights* to the tag.
For the remaining pieces of this tag, I used basic shapes from the SCAL library and added some fun papers using the Pattern command option. It’s so much fun to play with. The papers are from Echo Park (I Love Halloween Mega Collection). Everything in this matting was set to print 2 cut and the easy step by step process works magically each and every time! I added some inking to add a little more interest and texture before putting the tag together.
*The light is from Pear Blossom Press. I used the EZ-Light version. It’s an all in one unit with 3 lights each and the packaging also includes the batteries. The word PRESS is a stamp from TLC Designs. They’re perfect for interactive cards as well as indicating where the ‘button’ is on a light up card or tag.
These tags and several others can be found on our Facebook page: https://www.facebook.com/groups/eclipsecal We have some amazing artists on the page and since I’m writing this a little early — my hopes are that we’ll have several of them participating again this year!