CreativeFabrica

creative update for September’s crafts:

September pretty much flew by — grateful for the crafting time I was able to get in. Here’s a bit of what happened in the studio during the month:
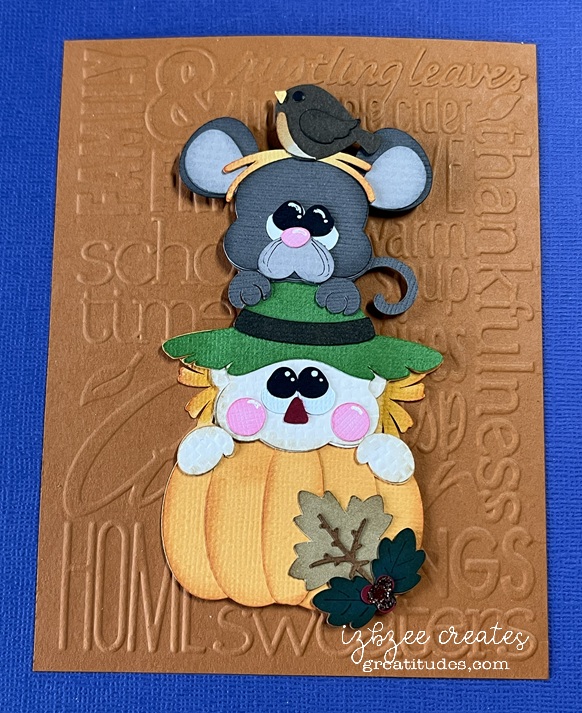
Above: Paper piecing — only put 8 of this particular design together — lots of little pieces and lots of inking! Original design from Treasure Box Designs (Stackable Fall). The embossing folder is an old Cuttlebug design I’ve held on to for a lot of years. Paper by AC Cardstock, Bazzil and Encore.
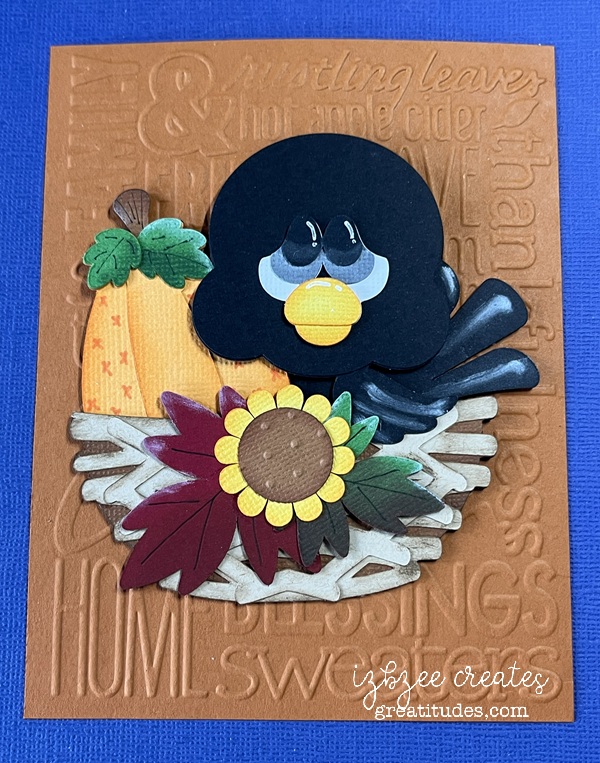
Above: another paper pieced card. I made 12 of these and combined with the other card, had enough for my ministering stash for the month of October. This design was also from Treasure Box Designs (Pumpkin Birdie). I did use some pan pastels for the white on the feathers and the edges of the leaves. I decided to use a marker to add a design on the pumpkin — since I didn’t create any patterned papers for this design. Again lots of inking and pieces — but lots of fun as well seeing them come together.

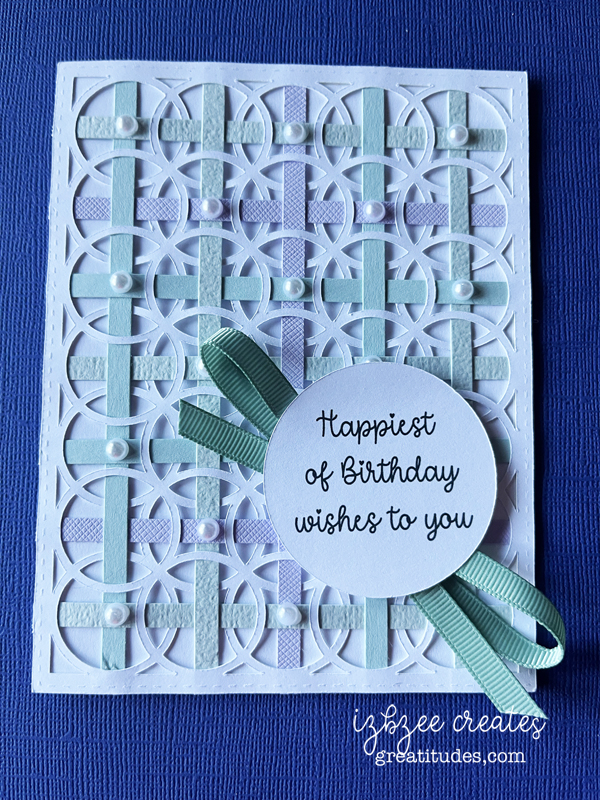
The Weave card I shared last month was also used for October’s bday cards. I just switched up the colors of the strips. But forgot to take a pic to share. But here’s a reminder of what the card looks like.
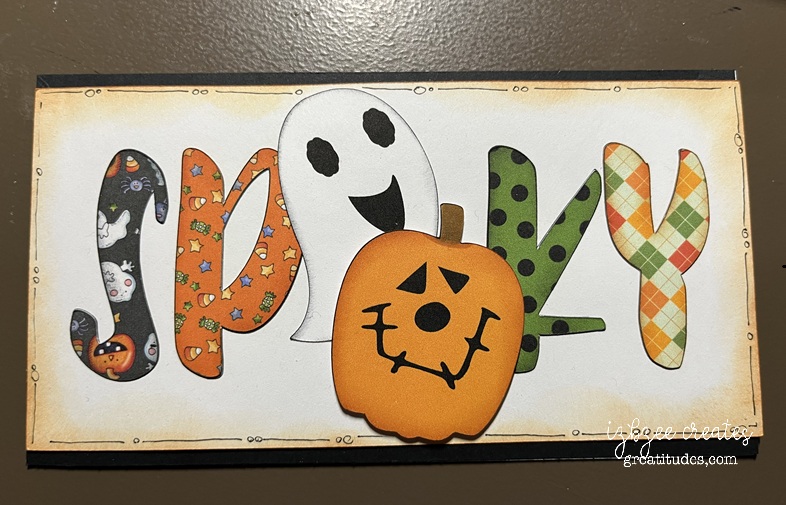
While these haven’t gone out yet, I did get a few of these made for Halloween – kind of fun and used some digital papers from a couple of collections I have in my stash. Inspiration from Pinterest The ghost was from a digital Halloween collection and the pumpkin was from the SCAL library and the face was from a colleciton I found on Creative Fabrica. I did use the print 2 cut option in SCAL for the letters (filled with the digital pattern). A little bit of inking and we’re good to go.
Doesn’t seem like much, but there were a few cards I didn’t get pics of before mailing and I did also raid my stash and sent out a few other cards during the month. I think we counted 32 cards sent out for the month of September… we’re looking at that and a few more already for October’s final “in the mail” number. I’ll be rebuilding some stash this month. I need more ‘thank’ you cards and ‘thinking of you’ cards for sure and a few ‘just for fun’ cards too.

October’s anniversary card is in the making — but better not share any of those components yet. It’s coming along though. More piecing! 🙂


Sundrop Flower

A friend asked me to create this for her as part of her Halloween costume this year.

I used a couple of files from Maison Gregoria’s Creative Fabrica collection. You can also find her files on Etsy. The Astria file is pretty small to begin with and I enlarged the pieces by 300% in SCAL. The original coloring was done in Procreate and then printed. I added some embossing on the petals and then added the stickles in purple and some additional inking for a little more depth on each of the petals. The stamen is from the Orchette-Dahlia Paper Template file also enlarged by 300% for consistency. So much fun to put this one together. As a final touch, I added an Easy Light set from Pear Blossom Press to the top set of petals.


Additional Supplies:
Distress Inks, blending tool
Solar Paste
Glitter
Stickles
White, Green cardstock
Hot glue
Bearly Art Glue

Hoping your creative time is productive and you’ll find joy in the materials you’re working with as well.

a little more Halloween fun!

It's been a fun week in the studio.  I've enjoyed nearly every minute and even learned a new technique along the way that I've been able to incorporate into the projects I've been working on.  

Check out these cuties:  The original file is from Simply Crafty SVGs and is called the 3D Round Ornament Gift Box.  You'll find it here… all adaptations are mine and are not included with the original file.  when completed the boxes do not open.  

The pumpkin …

Punkin

has some additions after making as shown in the video on Sandy's site.  I inked the ornament heavily and then glued the two halves together. 

This box will not open and is for decorative purposes only.   
For the paper twist stem:  Untwist and "wrap" around the area where the hanger would be.   Glue in place.  I used Bearly Art Craft glue.  Hold in place until the glue dries a bit. 

The eyes are: 1/2 of a small styrofoam ball.  Just cut the ball in half and do a little rolling and molding to get them shaped as you'd like.  Wrap in crepe paper, glue and ink around the edges.  I chose hot glue to hold the eyes in place.  

The nose is a bead from my stash.  I made sure the hole was on the side and because of the solid  color of the bead, it is barely visible.  

The mouth is a piece of Paper Yarn that I made using some crepe paper and a drop spindle to "spin" the yarn and then dyed with ink.  I added some "stitching" lines after the "yarn" was glued in place with a thin line of hot glue.  

The green ornament is made the same way — halves glued together and lots of inking. 

Greenie

I did add some brown/grey moss to the neck of the ornament for a little more texture and interest.  The bugging out eyes are definitely fun and while I didn't ink around the edges, you definitely could if desired.  

Lastly for this post, I have used the Round Candy Box also from Simply Crafty SVGs and you can find it here.  I did alter the panel on the box and it was really easy to do so in SCAL 6 (you don't have to have the PRO version to do that either).  Ink the pieces of the box before assembly.  I added a strip of paper yard that I'd dyed black using ink and then filling in some areas with a black alcohol marker (Spectrum Noir).  The facial features are from a collection I found at Creative Fabrica.  You'll find it here but you'll need an all access subscription to get the best deal on this and thousands of other files you'll find you can't live without!  :)  Enabler Alert!

Frankie1
Lift the lid for more: 

Frankie2

I used permanent vinyl.  I did make an error when matting the white vinyl pieces, but decided not to mess with it and recut before layering and applying the vinyl — I kind of like the way it looks not being lined up perfectly.   I placed the eyes  of the facial details under the stitched paper yarn and the mouth on the box base – it's hidden until you open the box.  It was fun and something I've not seen done in a long while.  
Here's a quick video:  https://youtube.com/shorts/P8SxoSBgkEw?si=NbXJUyFqQePtQhLd

More coming soon….  Hoping you're enjoying some creative time!  Nurture your soul for a while today!

Halloween 2025

I got started early this year.  The inspiration for this make came from the Summer 2025 edition of Country Sampler.  Finding globes at the thrift store or yard sales around here is difficult to say the least — so remembering that I already had a globe file from a few years ago, decided to try to recreate the project, adding my own twist, using paper.  I think it turned out quite nicely!  And, yes, the globe can turn if you don't glue the hat to the top of the globe.  

IMG_1294

Files I used to create this:
Globe:  https://bribos.nl/product/108-globe/
Hat:  https://www.simplycraftysvgs.com/shop/holidays/halloween/smiling-jack-o-lantern/
Face:  https://www.creativefabrica.com/product/cute-pumpkin-faces-jack-o-lantern-faces/

AC cardstock (12 x 12)
Vinyl from stash
Heavy body black paint, 1 inch foam brush
embellishments from stash (cheese cloth, mini rosette, purple web, ribbon

SCAL 6 Pro to mat and Skycut C24 to cut paper and vinyl
eBrush, Spectrum Noir markers
Hot glue gun
Bearly Art Craft Glue
Straw