This was a fun card to make — easier than I had originally thought and the inspiration came from a reel as I was scrolling a couple of weeks ago…. yep, I’m finding a few fun ideas here and there during some mindless time on my phone.
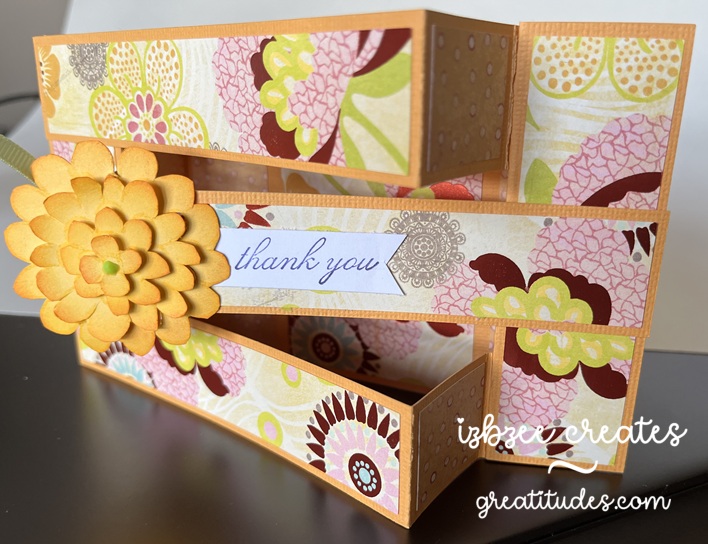
The sentiment (thank you) and the flower are from Stampin’ Up! sets long ago retired. *The flower was cut multiple times and then each “layer” was cut separately and inked for a little more volume and interest. The patterned paper is from a very old K&Co stack I purchased while we lived in another state — so it’s likely more than 11 years old.
A fun fact is that the base of the card can be cut from a single 8.5 x 11 inch sheet of cardstock. The panels almost fit on a 6 x 12 inch piece of double sided paper. And probably could if a few of the pieces were moved closer together or were cut by hand.
I enjoyed taking the template measurements and turning this into a SCUT file in SCAL 6 and using my Skycut to cut and save some time in the future when making this card and using digital paper for the panels when certain patterns require some finessing for printing. Only the base and panels were used in the SCUT file.
*The stamp images were not digitized.
You’ll need:
8.5 x 11 inch cardstock in your base color
12 x 12 double sided patterned paper
Scraps for flower and sentiment
Ink pad and blender tool
Glue or dry adhesive (I used Bearly Art Precision Craft glue for this sample, however, I think I’ll use some double sided tape for future makes)
SCAL 6
Skycut C24
Cutting and Scoring Template was found here. I altered the assembly slightly to put my own twist on the idea presented. However all measurements remained the same.
Floral stamp or other stamp for a focal piece
Sentiment stamp

Hoping you’re enjoying an awesome Spring day wherever you are and have inked in some creative time this week or for the upcoming weekend. Enjoy your time and keep nurturing your creative spirit.