These Pinterest inspired cards were so fun to make and the last projects for January 2026 that I can publish at the moment! 🙂 Just waiting for a few more things to get to their recipients.
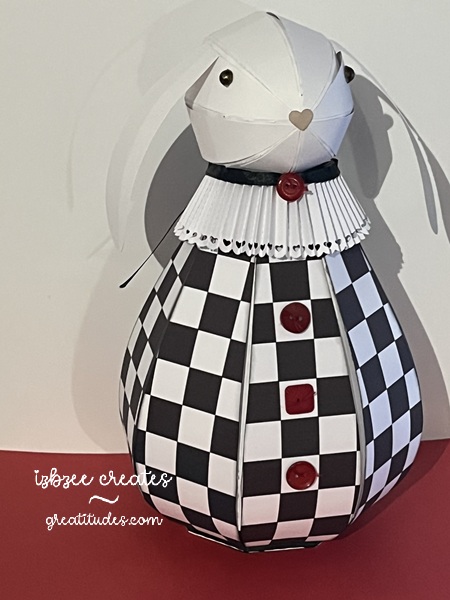
The base for this hexagon shaped box card is adapted from the Valentine Gnome Box Card from Simply Crafty SVGs. I trimmed off the top edge of the base and the extensions on the insert risers. Easy to accomplish in the SCAL software using the knife. Close the path once you’ve completed the slice and removed the unwanted piece. Make sure you re-group any pieces with score lines.
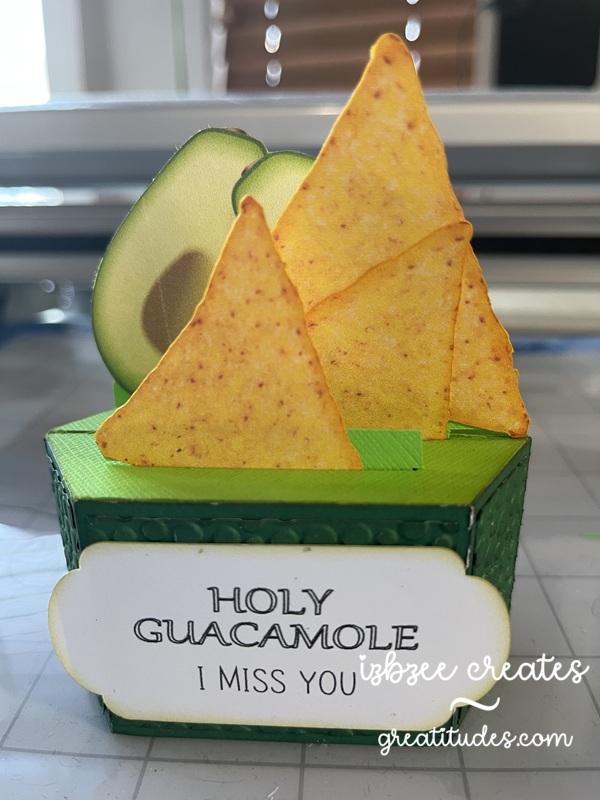
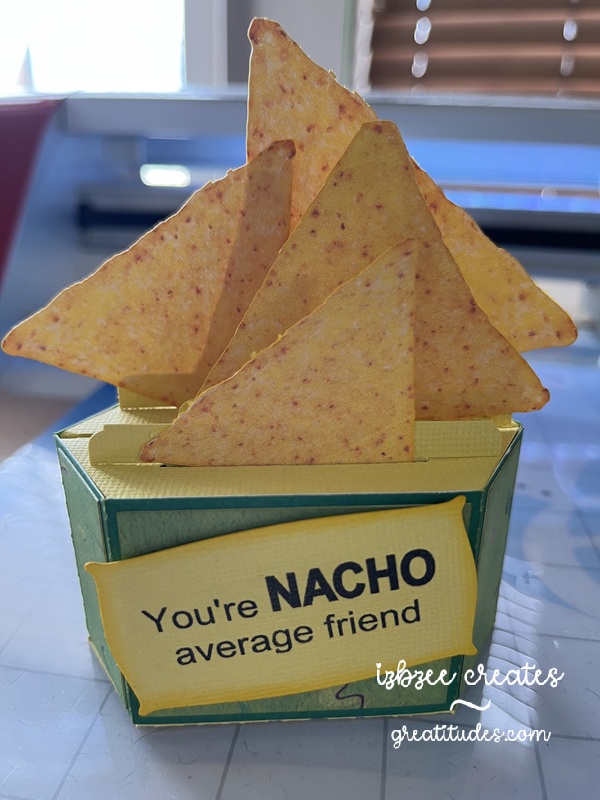
The “realistic” chip and avocado images are a find on freepik.com. They come with a white background – if you want a transparent background you can opt for the premium version and pay for a subscription to the site. HOWEVER, you can eliminate the white using the Paint app in Windows. Choose layers, hide the white. A white background will still show. Then choose the icon for removing the background. The white should disappear, leaving a transparent background behind the chip. I used the eraser and removed the shadow under the chip for a cleaner image. Save As a png and then you can import the file into SCAL. The cut is pretty clean. No TRACE needed since your image is a png. There are lots of other software/app options as well that will remove the background from the image. The above is what I used for this project. The edges of the cut chip images were inked with some yellow orange ink for some added “powdered cheese.” The process is basically the same for the avocado if you choose to add it.
The labels are found in the SCAL library. No shadow layer was added. The fonts used are from the fonts folder on Windows — and were set to print only in the SCAL software after they were sized and centered in the label.
AC Cardstock, Bazzil, Sabor and an old two tone green (source unknown) sheets were used to create the box and inserts. I did use the Tiny Bubbles embossing folder (Provo Craft – retired) to add some texture to the Holy Guacamole box panels. Added a little ink to add some additional interest.
Other materials:
bone folder
Bearly Art Precision glue
printer
Skycut C24
SCAL 6 Pro
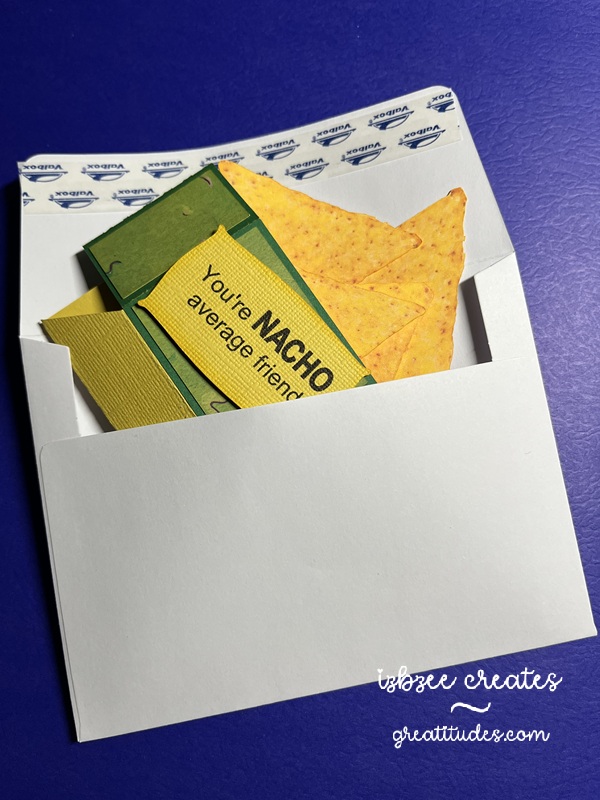
The card when folded flat will fit into an A2 invitation envelope.
Hoping you have some creative time carved out in the coming week! Enjoy every moment! Nurture your creative spirit and heart as well.