It’s been a crazy couple of weeks around our place… thus the cuckoo title. Me thinks the cuckoo flew the coop! Oh well, on with the make. I’ve gotten out of the habit of late taking pictures of the progress, so we’ll just have a couple.
I did add a sound module from Invite By Voice to this make from Emma Parrish – you can find her shop on Etsy — and it’s really kind of fun to listen to when you open the box and look through the flaps and pockets. I didn’t follow her design exactly, but pretty closely. The audio was a find on Pixabay… yep, they have audio files and video files too!
TIP: You do need to pre-print the backs of each sheet before cutting. I did have to do a little redraw on a few shapes for a clean cut in SCAL — the jpgs just didn’t trace well – and that is a drawback to SCAL on some things especially if there are light lines on the image. I chose not to do the preprint on the back, but did print a separate sheet and cut the shapes. It worked well and gave my box a little more stability in the base and on the side walls.
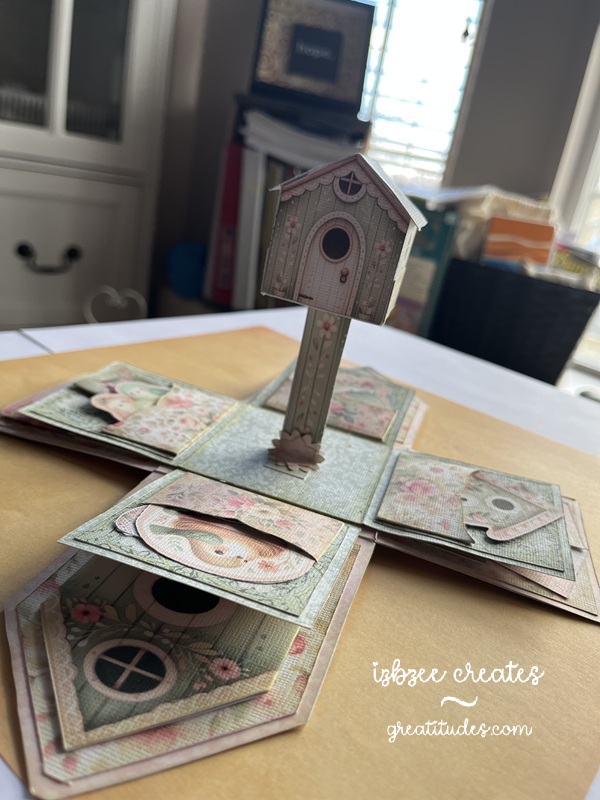
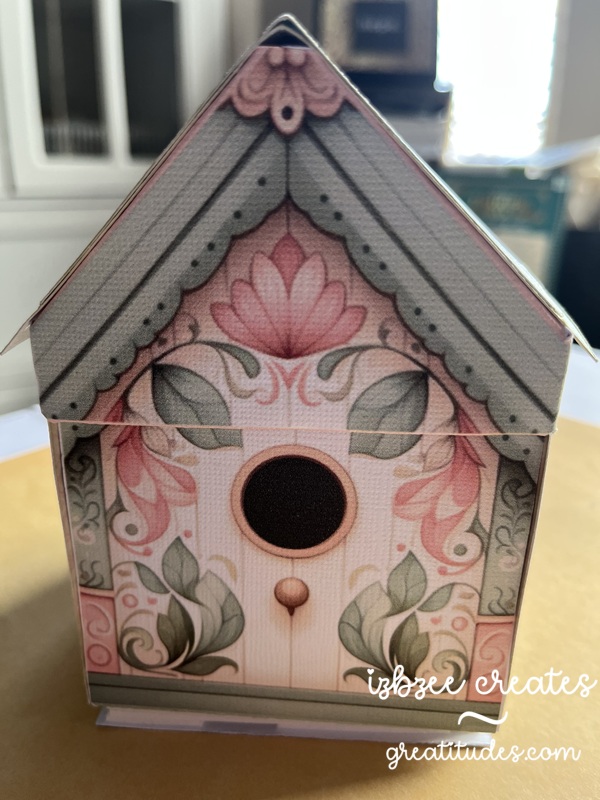
That birdhouse in the center of the base does stand on it’s own. I changed out the flowers in the kit and used a flower punch. You do need at least 2 layers on the flower for extra strength at the base of the post. While you can’t see it in the picture, there is a Nuvo drop center in the flower for a little extra detail. Each of the images in the pockets are provided in the kit. And there were a few extras left over.
Even on selecting BEST for printing, the colors are a bit muted and vintage looking. I like that. The design is well thought out. She has lots of printable designs in her shop.
I wonder if the cuckoo will find it’s way home again?
Additional materials:
AC and Encore cardstock (textured white)
Printer
Bearly Art glue – fine tip applicator
bone folder
foam tape
Sound module (light activated) from Invite By Voice
mp3 audio file (freebie from Pixabay)
Distress Ink (Old Paper)
blending tool
Hoping you’ve got some creative time inked in on your agenda for the coming week. Have some fun and nurture your heart along the way.