This year’s Halloween themed anniversary card is finally finished and on it’s way to the recipients. I’m grateful it turned out the way it did, cause this one threw me for a loop a few times. What I thought would work, didn’t x 3. Resizing of some of the elements was essential to get everything to fit together. So here goes:
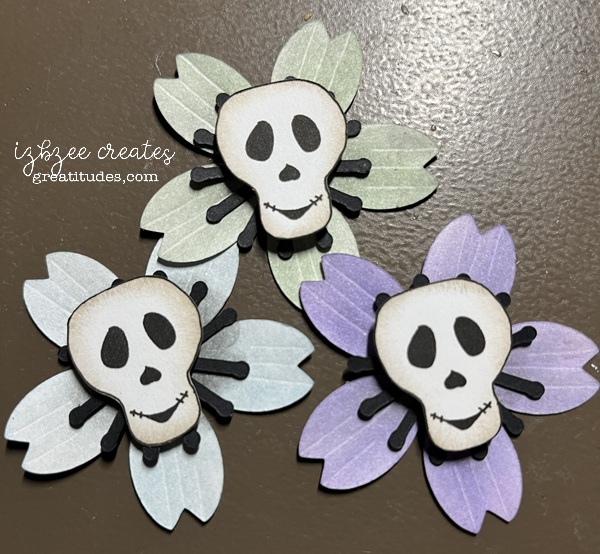
Let’s talk flowers first – SVGCuts.com had some Cherry Blossom flowers that fit the bill. Cut from white card (110 lb) and then dry embossed using a clay tool for a little more depth. Pan Pastels provide the color. The stamens are black card (80 lb). The skull is a png from a drawing I created in Procreate. Pretty simple and then it is inked with some Distress ink.
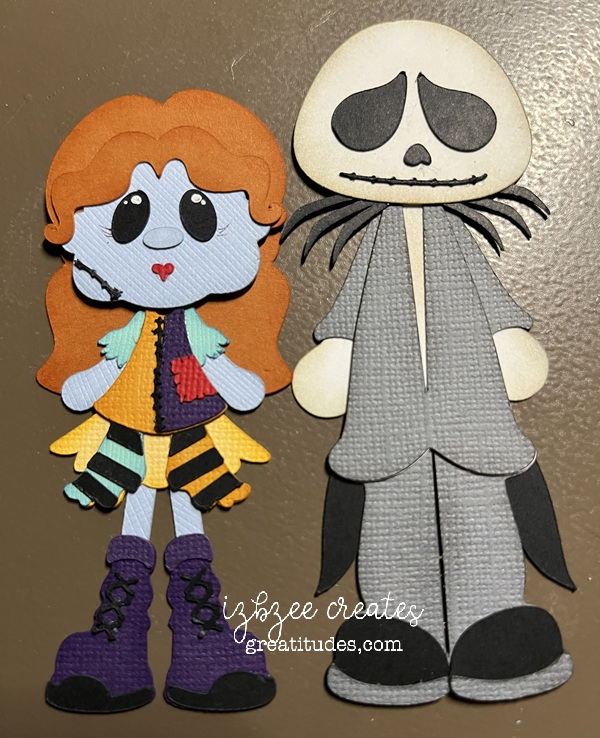
The figures are from a file found at Treasure Box Designs. Luckily there were scraps in all the colors for the cuts for them. The figures are sized down to about 75%. There is a bit of inking on these and I did leave off a couple of pieces.
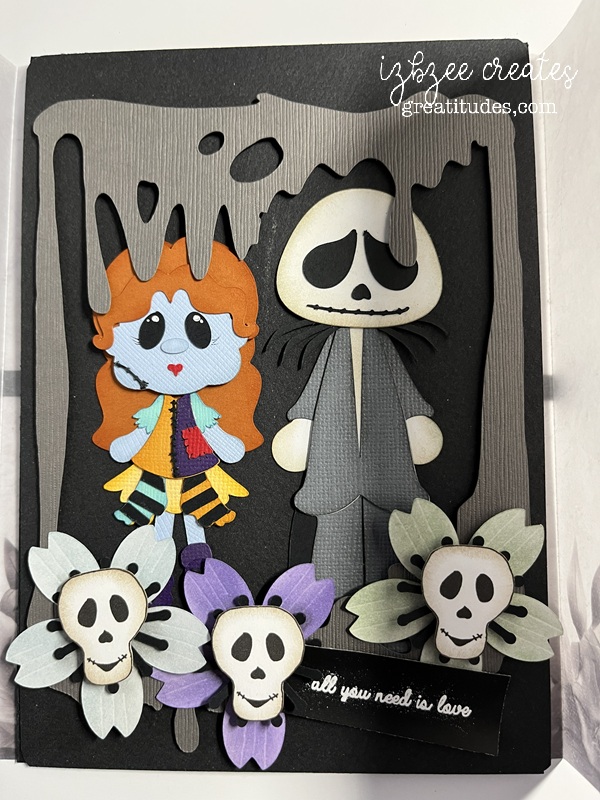
The front assembled. That frame is a die cut — it was scanned and resized in SCAL to fit the 5×7 card panel. It worked just fine and the brown gray color of the card added that next dimension.
Before adding the front panel to the card base, the pop up mechanism for the inside needed to be completed. Karen Burniston’s Cascade pop up set was the perfect solution. It was reversed to the pop up would open on the upper part of the card. The black vellum I ordered was too thick and not transparent enough — so it was used for the heat embossed sentiment on the card panel front. We did find some printed Halloween transparencies at Michael’s and pick that up along with some printed vellum. The transparency was perfect for the base on each of the platforms of the pop up and the flowers fit on those as well for the next design element.
The print to cut sentiment using SLF Art Deco was added after the pop up was installed.
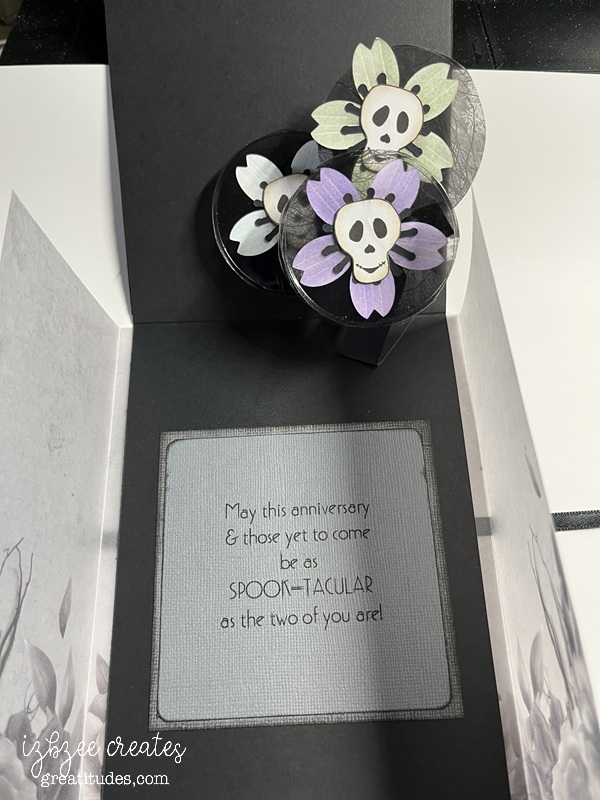
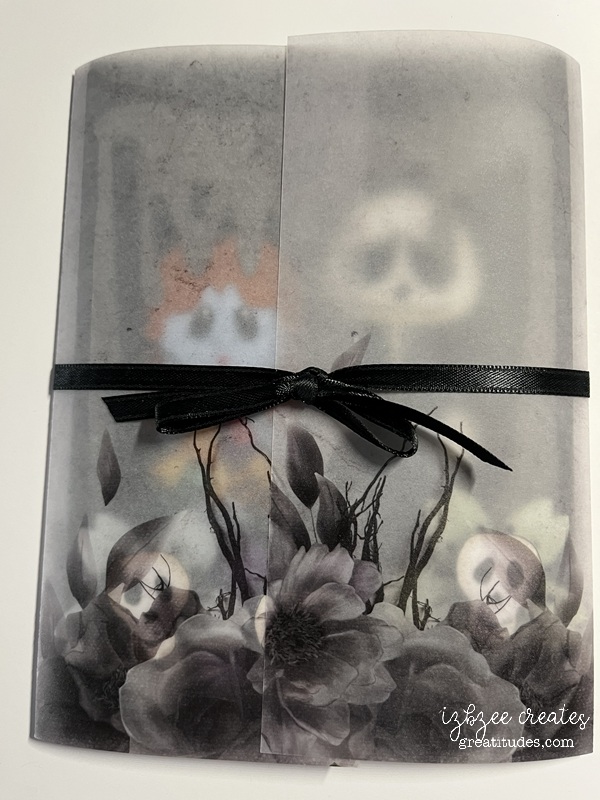
The panel was attached to the card base and then wrapped in some printed vellum (Michael’s) and some ribbon.
A quick video of the opening…

