This was a Pinterest inspiration. There are days that something just fits the bill and doesn’t take all day to create. This was one of those quick and easy projects…..
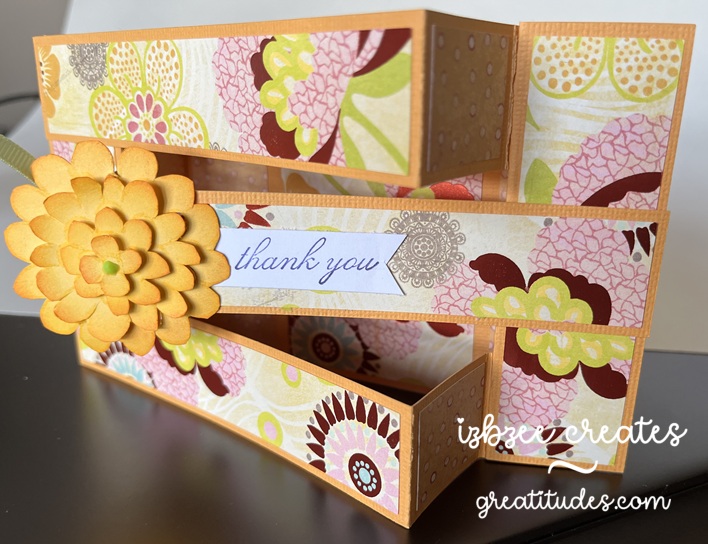
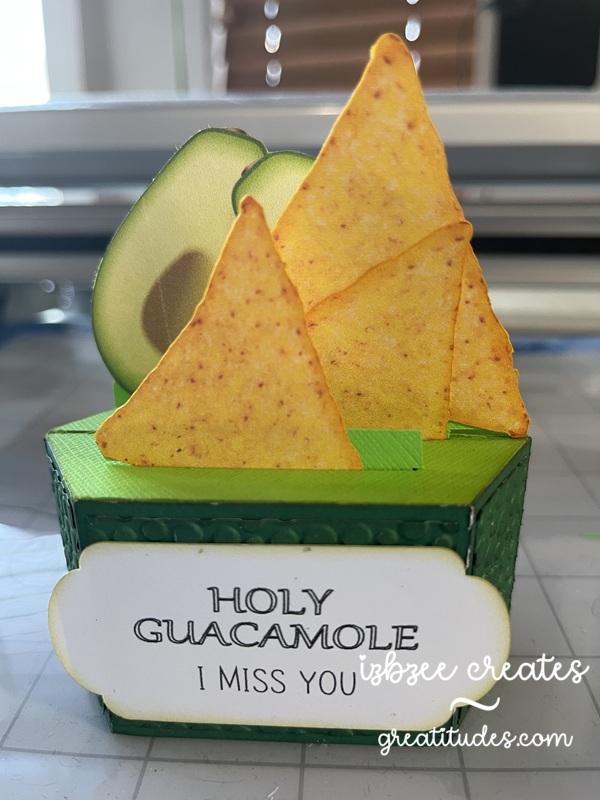
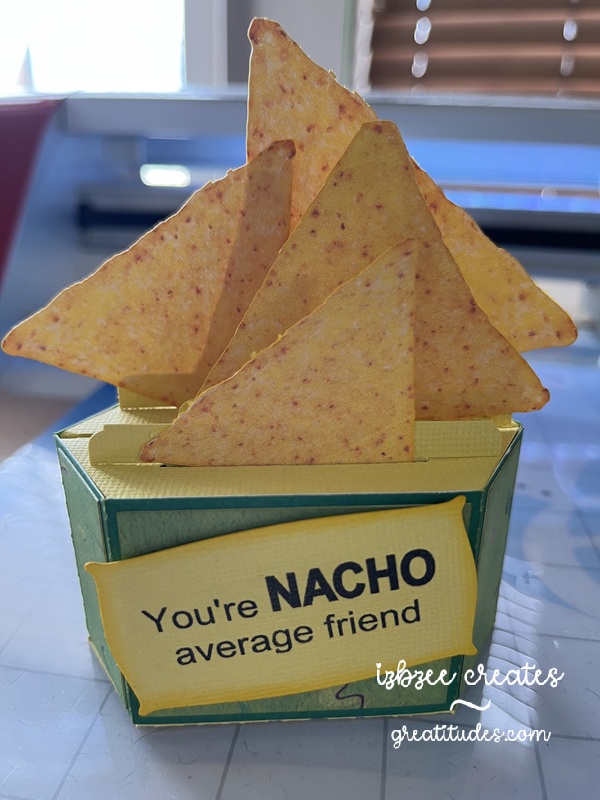
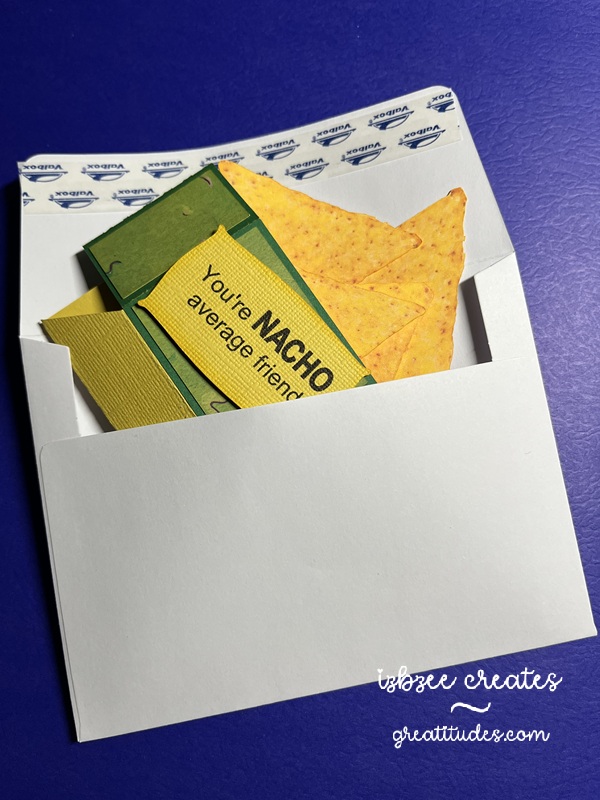
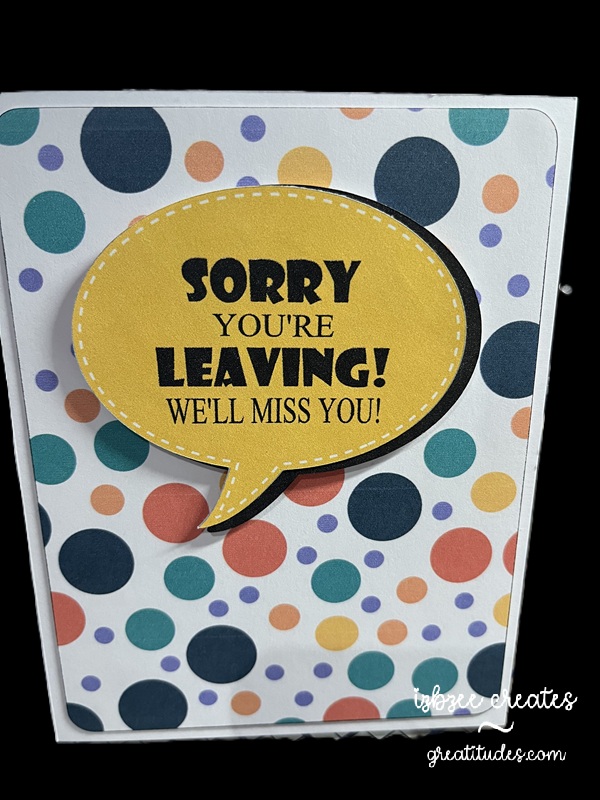
Talk bubble shape is from the SCAL library. Created an inset shadow and changed the outline to dashed. Added another shadow at .075 to go behind the talk bubble. I decided that I would add this as an additional element rather than just having a single layer print and cut… though I think that would work nicely as well. The background paper for the rounded large rectangle was from Creative Fabrica – though I’m not sure it’s still available as I purchased the collection several years ago. The fun font is from Adobe. It’s fun to use more than one font and size for this sentiment.
The bubbles and rectangle are filled with color and pattern and then sent to the printer. Cut using the SCAL 6 software with the Skycut C24 plotter. I really do like my cutter. Print to cut is generally spot on and I don’t have to add a bleed to the shape so ensure an accurate cut.
Hoping you’ll have some time to spend in your creative space soon! Have a great day!